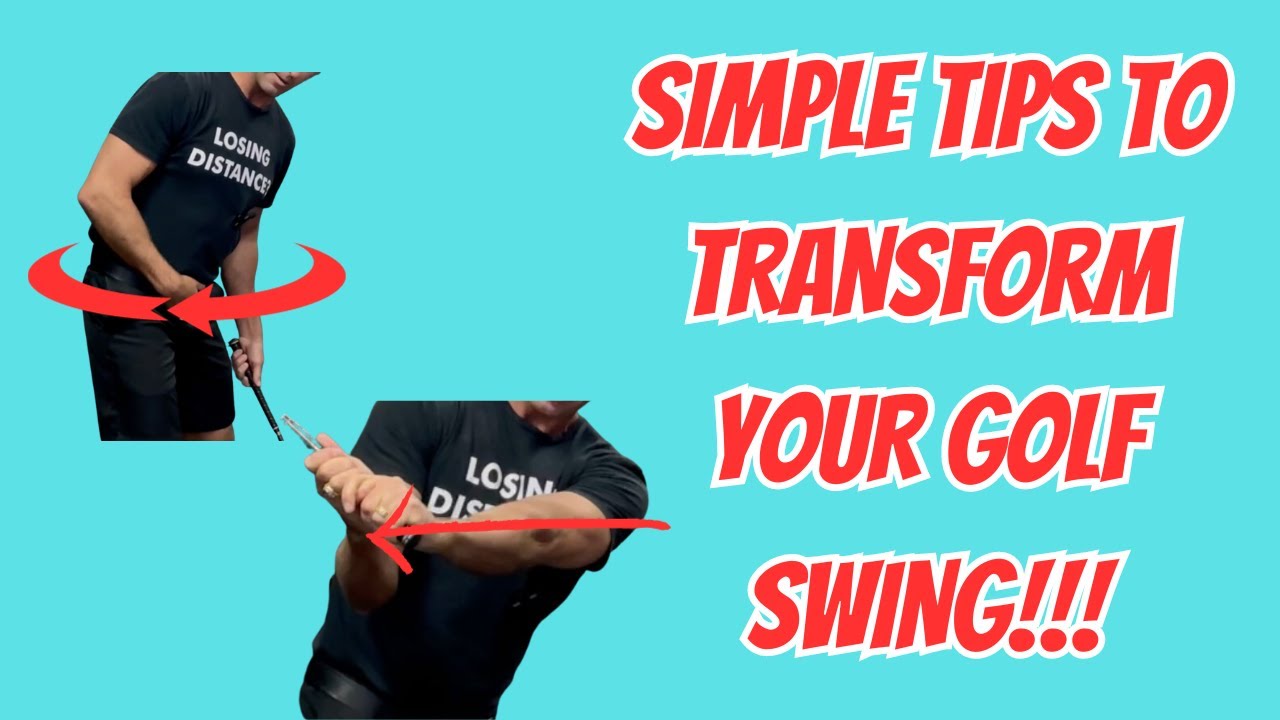
Ten steps. One complete blueprint from address position all the way through to impact and finish.
Not ten things to think about simultaneously during the swing. Ten things to build one at a time, in order, until each one becomes automatic before the next one gets added. The golf swing is complicated enough. The only way to simplify it is to break it into a clear sequence and work through that sequence with intention.
At Berman Golf, this is the complete framework. Every step matters. Every step feeds into the one after it. Skip one and the ones downstream of it become significantly harder to execute correctly.
Here are all ten.
Step 1, Maintain Posture
This seems simple. Almost nobody does it correctly.
The most common way golfers get down to the ball is by rounding the back forward. The spine curves. The shoulders hunch. The posture is already compromised before a single swing movement has happened.
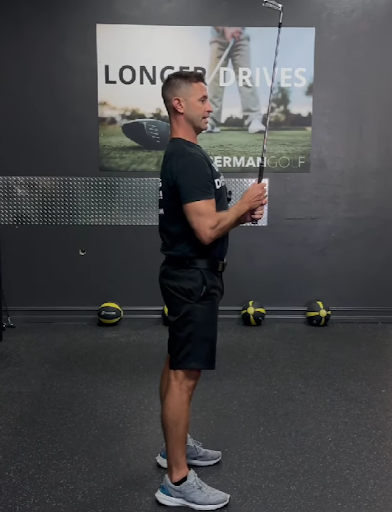
The correct way to get down to the ball is tall. Chest up. Belly button in. Unlock the knees, not bend them, just unlock them. Then think about shutting a door with the butt, pushing the hips back so the club head falls to the ball while the spine angle stays intact.
That position maintains the spine angle that has to be preserved throughout the entire swing. Lose it here and there is nothing to maintain later.
Step 2, Weight in the Middle of the Foot
Here is a check most golfers have never done.
At address, where is the weight sitting? On the heels, on the toes, or right in the middle of the foot?
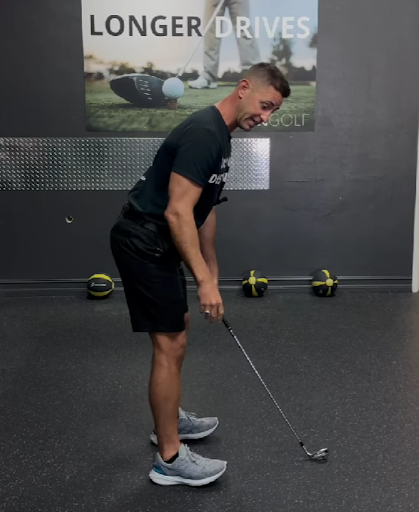
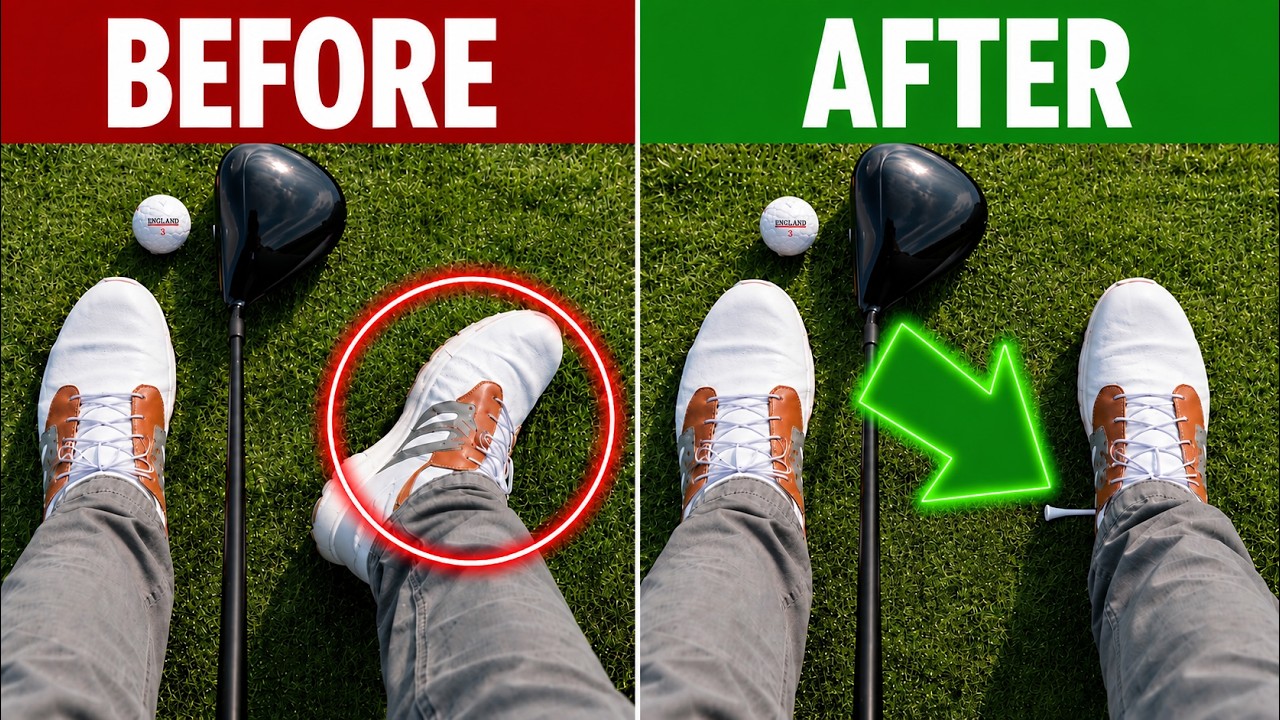
Weight on the heels means the leg muscles are not engaged. Weight on the toes means balance is compromised and the glutes cannot fire properly. Weight in the middle of the foot, the entire foot active and loaded, means all the leg muscles including the glutes are available to contribute.
Here is the simple test. Think about jumping as high as possible. Nobody jumps from their heels. Nobody jumps from their toes. A maximum jump comes from the whole foot, the middle of the foot, using every muscle in the legs and glutes. That is the same weight distribution needed at address.
Step 3, Activate the Power Muscles at Address
Once posture is set and the weight is centered, the power muscles have to be switched on before the backswing starts.
Pull the belly button toward the spine. Core engaged. Keep breathing, do not hold the breath. Then increase pressure through the inside of the trail foot. The arch pressing into the ground.
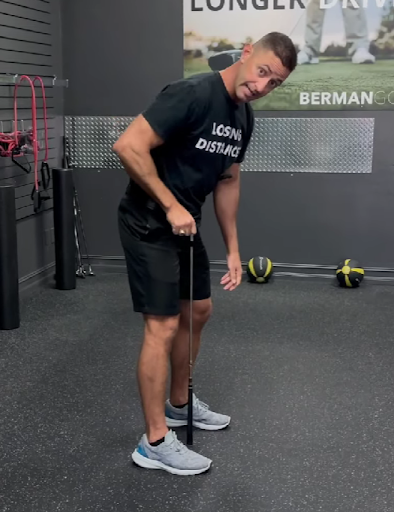
That combination, belly button in and trail foot pressing, activates the core and begins the chain that runs up through the trail leg to the glutes. All of this happens before a single backswing movement begins. The power muscles are primed and ready before the swing asks anything of them.
Step 4, Initiate the Backswing With the Belt Buckle
Here is the step that determines whether the downswing can ever work correctly.
Whatever body part initiates the backswing, the brain registers as the primary mover of the entire swing. Hands go first and the brain locks the hands in as the primary driver permanently, for that swing and every subsequent one until the pattern gets retrained.
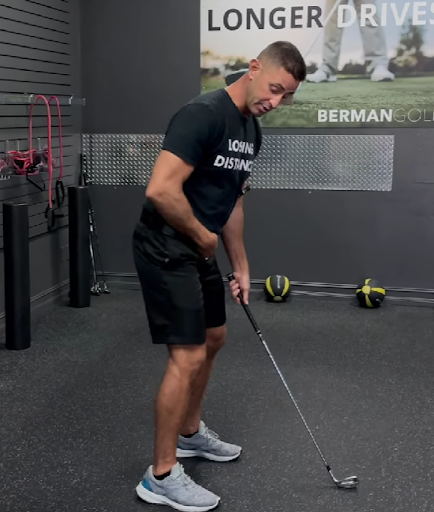
Belt buckle initiates. The brain registers the body as the primary mover. And when the body is the primary mover on the way back, it becomes the primary mover on the way down as well. The downswing initiates with the body instead of the hands. The flip disappears. The sequence works.
One step. One decision. Belt buckle first.
Step 5, Push the Lead Elbow Straight at the Top
At the top of the backswing, the lead elbow has to stay straight. Not mostly straight. Straight.
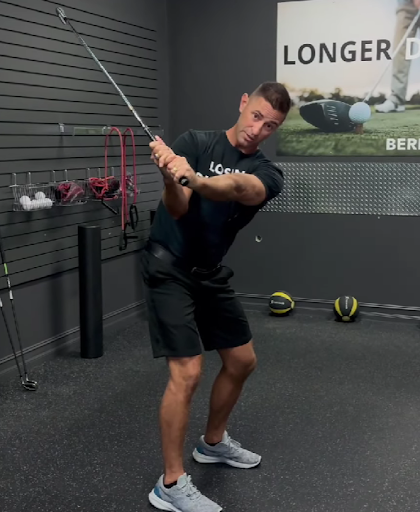
A bent lead elbow adds a moving part to an already complicated motion. Less moving parts means more consistency. And a bent elbow shrinks the arc, which reduces club head speed directly.
The cue that makes this achievable is pushing the lead knuckles straight away from the target. Not up. Not around the body. Straight away down the target line. That pushing motion keeps the lead elbow from bending because the arm has to extend to push the knuckles away.
Step 6, Increase Pressure Through the Trail Foot at the Top
Here is the step most golfers lose completely at the top of the backswing.
The trail foot pressure that was established at address has to increase at the top of the backswing, not release. Pushing harder through the inside of the trail foot at the top is what keeps the trail glute loaded and the ground connection alive.
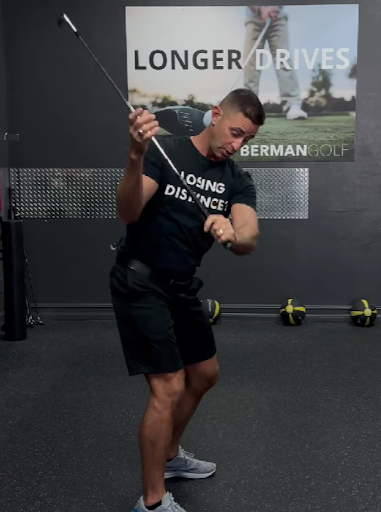
The trail knee must stay bent to allow this. A straight trail knee makes pressing through the inside of the foot biomechanically impossible. Bent knee, increased foot pressure, loaded glute. That is the loaded position the downswing needs to unload from.
Step 7, Initiate the Downswing With the Belt Buckle
Same principle as step four, applied to the downswing.
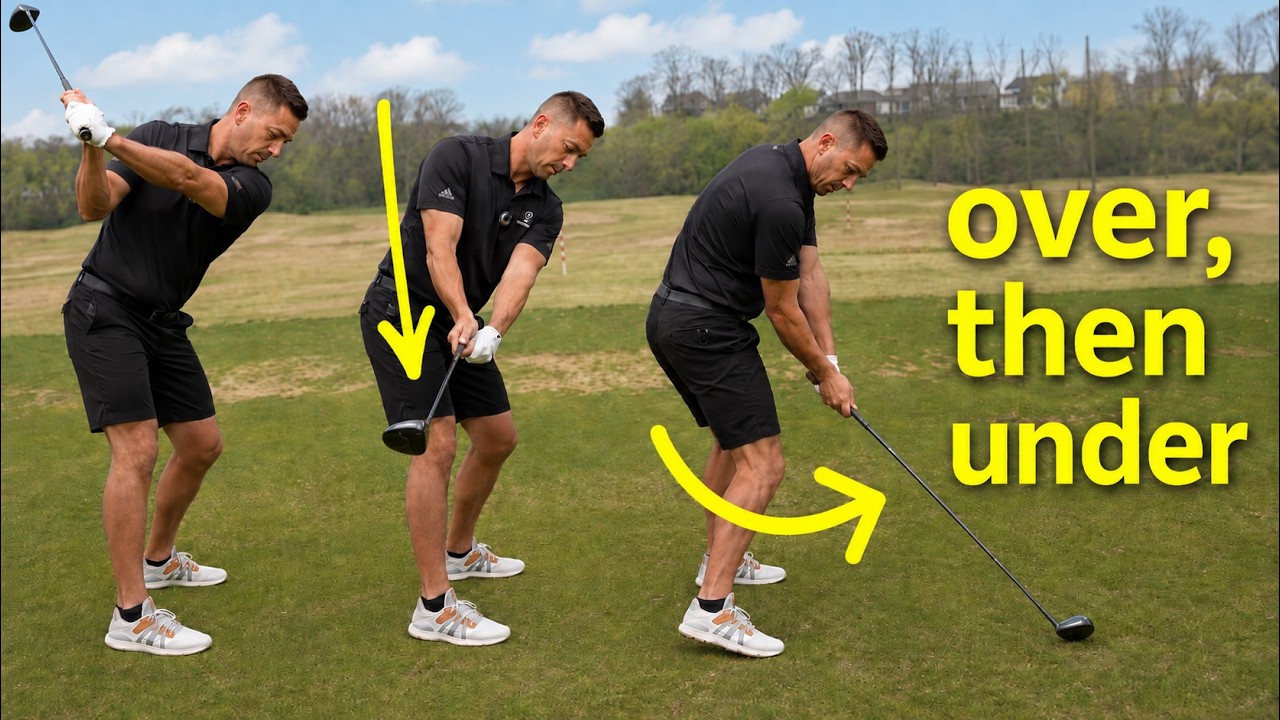
At the top of the backswing, the belt buckle reverses direction toward the target. Not the hands pulling down. Not the shoulders casting outward. The belt buckle.
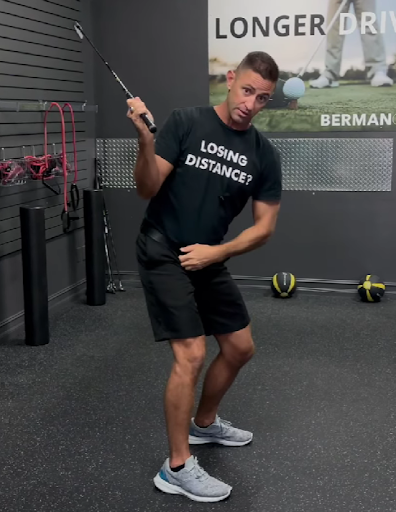
When the belt buckle leads the downswing, the hands naturally lag behind. That lag is what creates the forward shaft lean at impact that compresses the ball. The belt buckle leading is the cause. The lag and compression are the effects.
Step 8, Practice the Impact Position
Here is a step most golfers skip entirely because it requires stopping mid motion and holding a position that feels uncomfortable.
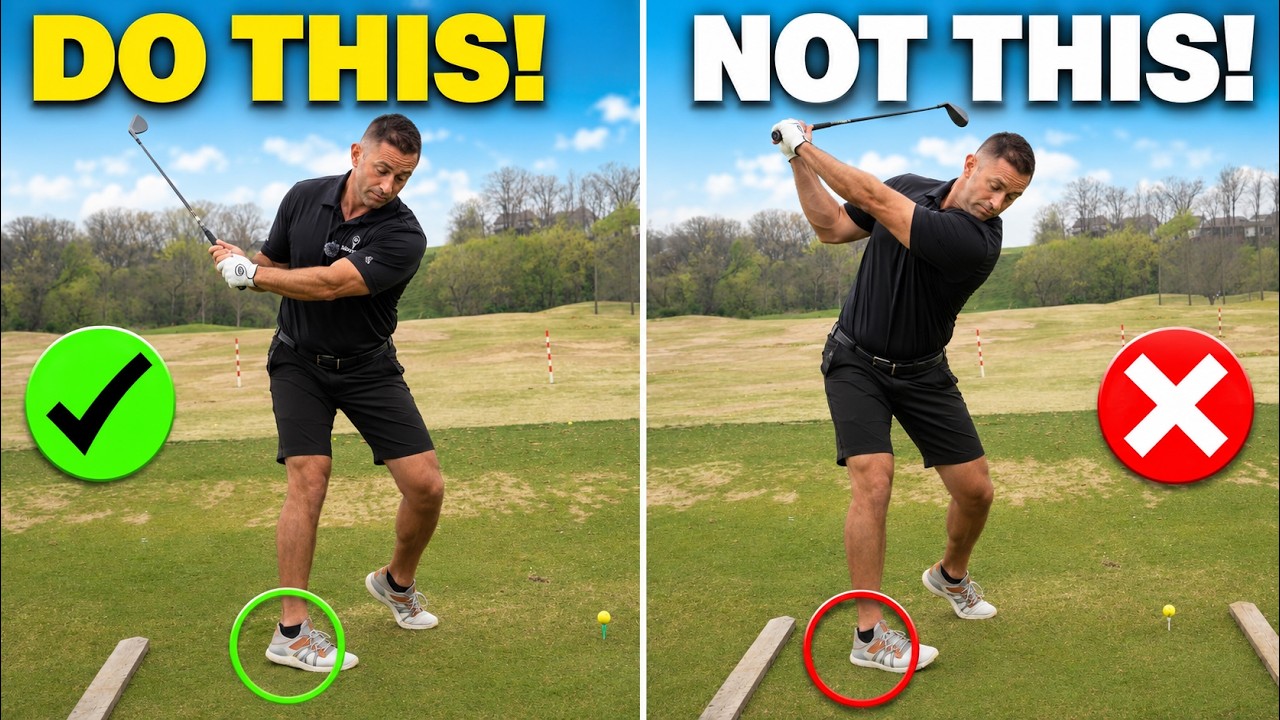
Get to the impact position and hold it. Hands forward. Belt buckle rotating past the ball, pointing toward right center field, not back at the ball. Trail heel starting to come up.
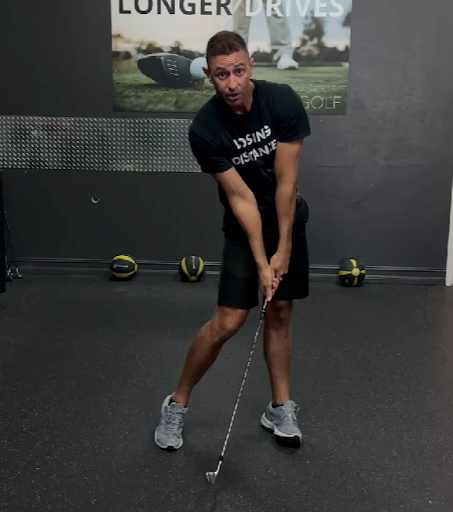
Here is why this position matters. At impact, the belt buckle, hands, and club head should not all be in alignment. That straight line alignment is what makes hitting down on the ball physically impossible. The belt buckle has to be ahead of the hands. The hands have to be ahead of the club head.
Practice getting into this position and holding it deliberately so the brain can learn what correct impact feels like before trying to find it at full swing speed.
Step 9, Get the Belt Buckle to the Target
Here is where so many golfers stall out and waste everything built in the previous eight steps.
At some point in the follow through, the hips stop rotating. The belt buckle stalls. The swing finishes without the belt buckle ever getting to the target. The body quits before the job is done.
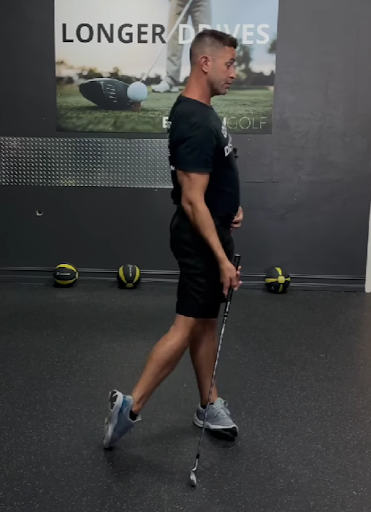
The belt buckle has to finish pointing at the target. Not at right center field. Not slightly left of the target. At the target. That completion confirms the body rotated all the way through impact instead of stalling and leaving the hands to finish the swing on their own.
Finish with the belt buckle at the target every single time. No exceptions.
Step 10, Use a System That Holds the Hand Through All Nine Steps
Here is the honest reality of all nine steps above.
Each one is simple to understand. None of them are easy to execute correctly under the pressure of a real round, a real ball, and a brain that has been running old patterns for years or decades.
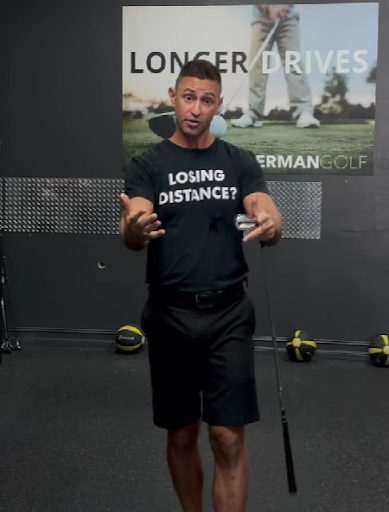
Knowing the steps and being able to execute them consistently on the course are two different things. The gap between those two things is where most golfers live. Understanding the framework does not automatically produce the motor patterns needed to run it automatically.
That gap gets closed through a structured program that holds the golfer through each step with specific drills, progressions, and feedback tools built specifically for the aging body. Not generic swing advice. A step by step system built for how senior golfers move and what their bodies actually need to produce power safely and repeatably.
Get a Free Swing Analysis
Want to know exactly which of the ten steps is breaking down most in the swing right now, and what the highest priority fix would be?
Set the camera or phone up at two angles. One from the front, face on. One from behind, down the line. Film in slow motion. Swing.
Send both videos to gaindistance.com and Dr. Berman will give a free swing analysis. The first one is on him.
See exactly what the camera shows, not what the brain thinks is happening. Then the ten step framework has a clear starting point and a clear order to work through.
Want a Step-by-Step Blueprint?
If this resonates and the advice out there feels designed for 25-year-old tour pros, there is a simple blueprint built specifically for senior golfers.
It breaks down:
How the aging body changes Which muscles actually produce power How to gain distance without swinging harder How to improve consistency while reducing aches and pains
It is written at a fifth-grade reading level with clear visuals and practical drills that can start immediately.
A FREE digital copy is available at: 👉 gaindistance.com
No gimmicks. Just clarity on how the body should move to play better golf for years to come.
Bringing It All Together
Ten steps. In order. Every time.
Posture maintained getting down to the ball. Weight in the middle of the foot. Power muscles activated at address. Belt buckle initiating the backswing. Lead elbow straight at the top. Trail foot pressure increasing at the top. Belt buckle initiating the downswing. Impact position practiced deliberately. Belt buckle finishing at the target. A structured system to hold the hand through all of it.
Each step feeds the next. Skip one and the downstream steps become harder to execute. Work through them in order, one at a time, until each is automatic before adding the next.
At Berman Golf, the focus is biomechanics first. Not cookie cutter swings. The goal is teaching the body how it should move, especially as it ages, so power can be generated safely and repeated under pressure.
The in-house and online coaching programs are built specifically for senior golfers who want more distance and better consistency without beating up their bodies.
For anyone tired of advice designed for tour pros and ready for a blueprint built for their body, help is available.
Because when all ten steps are working in sequence, the golf swing finally becomes something the body can repeat instead of something it has to figure out from scratch on every single shot.
And when the swing becomes repeatable, the game gets soooooo much easier!
If you enjoyed what you read and want to see it in action, watch the full video below where Dr. Berman walks through all ten steps from address to impact!