Here’s the most important thing nobody tells you about the downswing.
The downswing isn’t where the swing is won or lost. The backswing is.
If the backswing isn’t right—if the right muscles aren’t loaded, the spine angle isn’t held, the hands are the primary mover instead of the body—the downswing never had a chance. You’re spending the entire downswing trying to recover from a backswing that was already broken before it finished.
At Berman Golf, this is why we spend so much time on the setup and the backswing. Because a perfect backswing makes the downswing almost automatic. And a compromised backswing makes even the best downswing intentions fall apart every time.
Here are the eight sequential steps that connect all of it—from the very first move at address to the finish.
Step 1: Get Into the Right Posture
Everything starts here. Not with the swing. Not with the club. With how you’re standing before any of it begins.
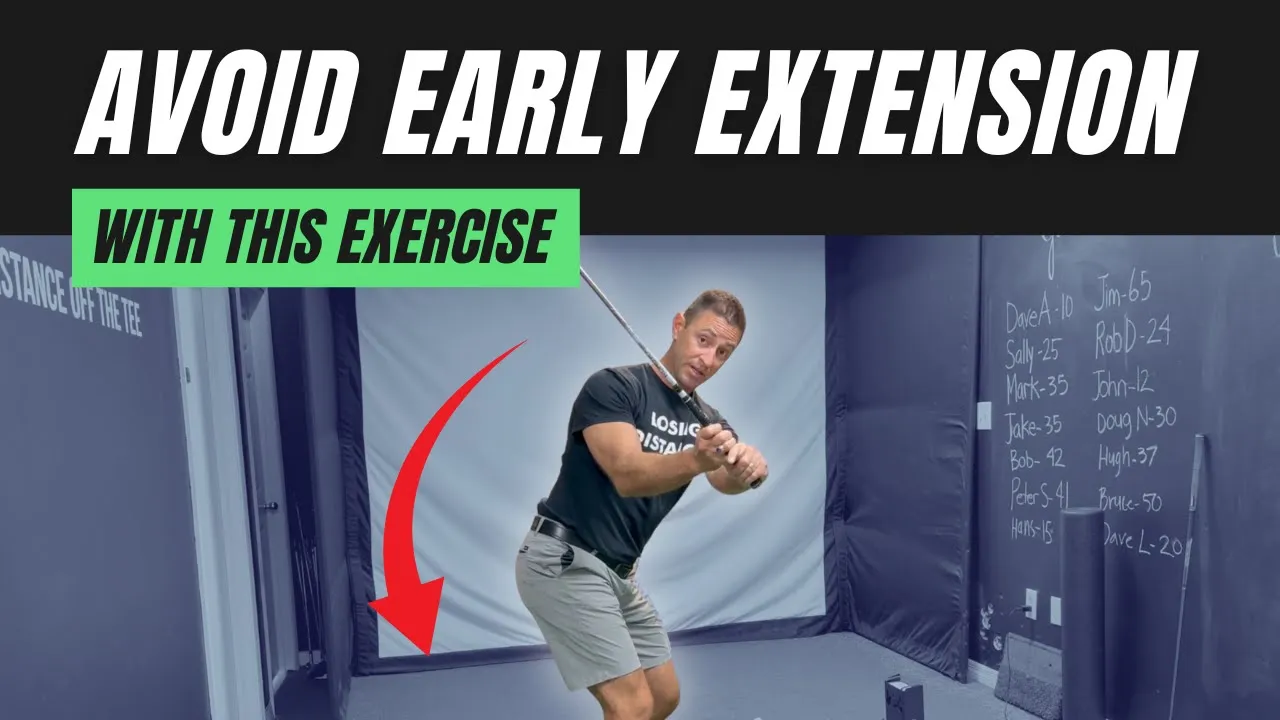
The number one mistake at address is reaching for the ground by rounding the upper back. The moment the back rounds, the thoracic spine locks, and true shoulder turn becomes physically impossible before the swing even starts.
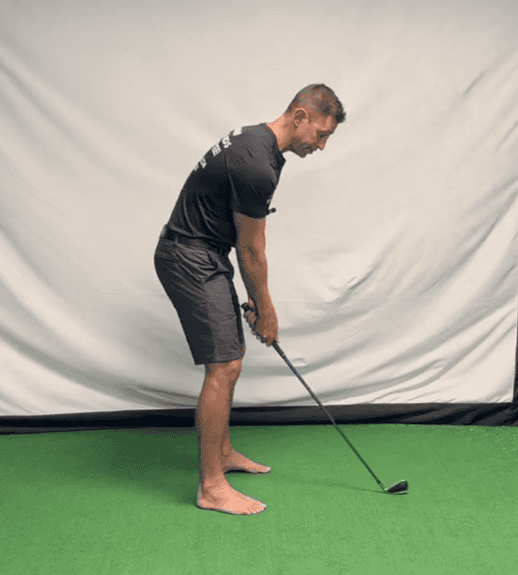
Here’s the correct position.
Stand nice and tall. Pull the belly button in. Soften the knees—don’t bend them, soften them. Then push the hips backward—think about shutting a door with your backside. That hip hinge is what gets you down to the ball while maintaining spine angle.
That’s the foundation. Every step that follows depends on getting this right.
Step 2: Fire the Right Muscles at Address
Posture gets you in position. Now you have to activate the right muscles before anything moves.
Pull the belly button in even harder—that’s the core fully engaged. Now start increasing pressure through your trail foot. Push that foot into the ground without letting the knee buckle inward.

Do this barefoot when you practice. You have muscles in the arch of your foot that play a direct role in activating the glute above them. When those foot muscles wake up, the glute fires more effectively. And when the glute fires, the power chain is ready.
That connection—foot to glute to core—is your power source. It has to be on before the swing begins.
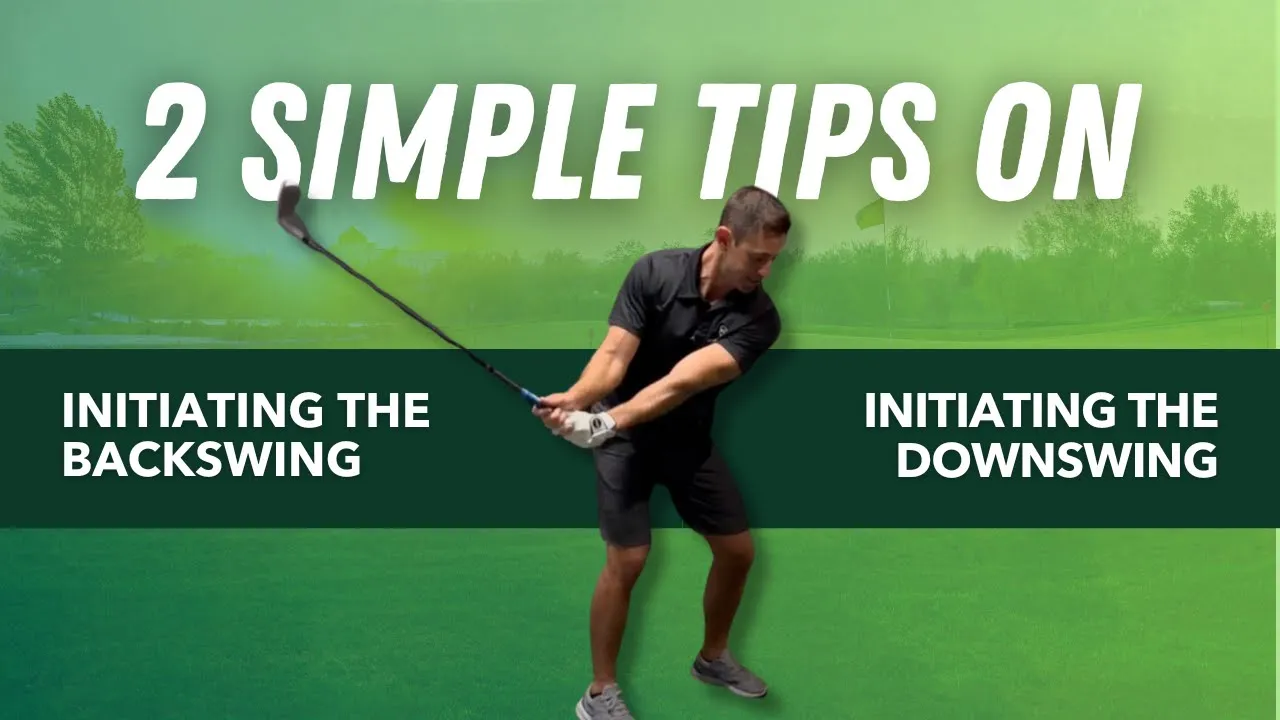
Step 3: Initiate the Backswing With the Belt Buckle
This is the most critical step of the entire sequence.
Whatever moves first, the brain establishes as the primary mover.
If the hands move first, the brain registers the hands as the engine of the swing. From that point forward—no matter how many times you’ve practiced initiating the downswing with your body—the hands are going to take over. The brain already decided. You told it what’s in charge going back, and it’s going to apply that same answer going forward.

Initiate with the belt buckle. Let the hands come along. The hands and the belt buckle can move at essentially the same time—but the thought has to be the belt buckle. That one mental shift changes what the brain establishes as the driver of the entire motion.
When the body initiates, the body stays in charge. All the way through impact. That’s how you stop flipping at the ball with your hands.
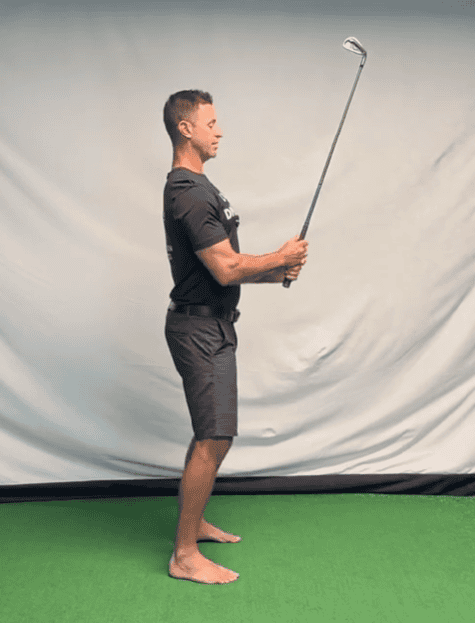
Step 4: Take the Lead Knuckles Away From the Target
Here’s where most golfers make their next mistake.
As the backswing develops, the instinct is to raise the arms. The hands go up, the club goes up, and now on the way down you have to drop the arms and then turn—a timing equation that almost never works consistently.

Instead, think about taking the lead knuckles directly away from the target.
Not up. Not around the body. Away from the target—straight back along the target line.

When the knuckles go away from the target instead of up, two things happen automatically. The shoulder turn increases—true shoulder turn, not the compensated kind. And the spine angle stays intact. You’re rotating within the cylinder instead of raising up out of it.
No timing equation. No drop required. Just rotation that delivers naturally.
Step 5: Find a Spot and Don’t Let the Head Move
As all of this is happening—belt buckle initiating, knuckles going away, pressure building through the trail foot—one more thing has to stay still.
The head.
Find a spot on the ground before you start the backswing. Keep your eyes on it throughout the entire rotation.
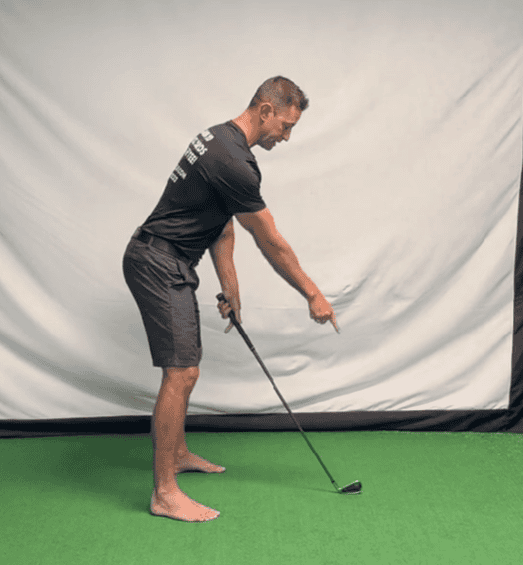
The moment the head slides off that spot, the rotation becomes a sway. And a sway in the backswing means the opposite sway has to happen in the downswing to get back to the ball—which means the head comes up, the spine angle is lost, and all the work done in steps one through four is gone.
One spot on the ground. Eyes there the whole time. That’s the anchor.
Step 6: Exaggerate the Squat Into the Trail Hip
Here’s the blue light special—the training cue that locks in the trail leg loading once and for all.
As you go into the backswing, exaggerate a squatting feeling into the trail hip. Not dramatically. Just feel like you’re sitting back and down onto that right side as the rotation happens.

Here’s the biomechanics of why this works.
When the trail knee straightens in the backswing, the glute turns off. When the glute turns off, you have no power source. When you bend the trail knee—even exaggerating it in practice—the glute loads. The core stays engaged. The entire right side is coiled and ready.
This is for training purposes. Exaggerate it in practice so that a fraction of it shows up in real time under the pressure of an actual shot. That fraction is exactly what you need.
Step 7: Initiate the Downswing With the Belt Buckle Going the Opposite Direction
Now everything is loaded. The backswing is right. And here’s how you don’t throw it away.
Do not pull the hands down. Do not flip at the ball. Do not try to manufacture power with the arms.
Get the belt buckle going in the opposite direction.

That’s the downswing initiation. The belt buckle reverses while the hands stay where they are. The body leads and the hands follow—and that sequence creates lag naturally, without trying to create it, without any manipulation required.
When the body goes first in the downswing, the hands are pulled through automatically. The club delivers from the inside. The face squares through impact. And the ball goes where it’s supposed to go.

This only works because the backswing was right. If the hands initiated the backswing, the brain will not allow the body to initiate the downswing—it already told itself who the primary mover is. Get the backswing right and the downswing follows.
Step 8: Finish With the Belt Buckle to the Target
The last step is also the one most senior golfers never complete.
The belt buckle has to get all the way to the target.
Not to right center field. Not halfway there. All the way—belt buckle pointing directly at the target at the finish.

When the hips stall and the belt buckle stops at right center, the hands have to flip to square the face. That flip is where the inconsistency lives. That flip is the slice, the pull, the thin shot, the chunk.
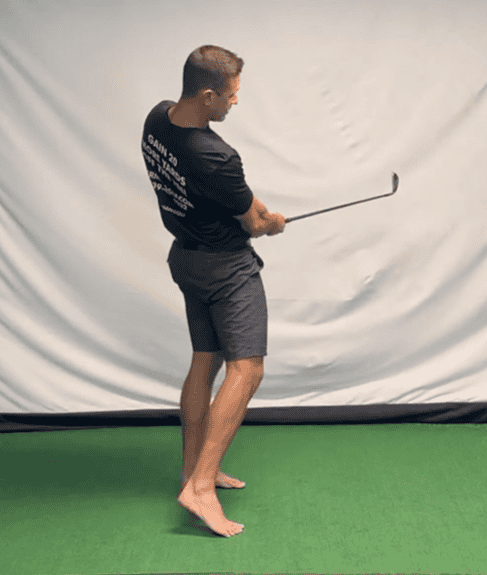
When the belt buckle gets all the way to the target—when the hips fully clear—the hands don’t have to do anything. The face squares because the body got there. The shot goes where you aimed it because the sequence was complete.
Finish the swing. Every time.
The Sequence That Ties It All Together
Here’s the full eight-step sequence written out cleanly so you can run through it before every practice session:
Right posture at address—tall, belly button in, knees soft, hips back. Fire the right muscles—core engaged, trail foot pressing, glute activated. Belt buckle initiates the backswing—not the hands. Lead knuckles go away from the target—not up, not around. Find a spot and don’t let the head move. Exaggerate the squat into the trail hip. Belt buckle initiates the downswing in the opposite direction. Finish with the belt buckle pointing at the target.

The most important steps are the first ones. Get the setup right. Get the backswing right. And the downswing—the part everyone obsesses over—becomes the natural result of everything that came before it.
Want a Step-by-Step Blueprint?
If this resonates with you and you’re tired of advice designed for 25-year-old tour pros, I put together a simple blueprint specifically for senior golfers.
It breaks down:
- How the aging body changes
- Which muscles actually produce power
- How to gain distance without swinging harder
- How to improve consistency while reducing aches and pains
It’s written at a fifth-grade reading level with clear visuals and practical drills you can start immediately.
You can download a FREE digital copy at: 👉 gaindistance.com
No gimmicks. Just clarity on how your body should move so you can play better golf for years to come.
Bringing It All Together
Stop trying to fix your downswing. Start building a backswing that makes the downswing fix itself.
Posture at address. Right muscles fired before the swing starts. Belt buckle initiating the backswing. Lead knuckles going away from the target. Head anchored on a spot. Trail hip loaded with a squatting feeling. Belt buckle reversing to start the downswing. Belt buckle finishing all the way to the target.
Eight steps. Each one building on the last. Each one making the next one more possible.
At Berman Golf, we focus on biomechanics first. We don’t teach cookie-cutter swings. We teach you how your body should move—especially as it ages—so you can generate power safely and repeat it under pressure.
Our in-house and online coaching programs are built specifically for senior golfers who want more distance and better consistency without beating up their bodies.
If you’re tired of advice designed for tour pros and ready for a blueprint built for your body, we’re here to help.
Because when the backswing is right, the downswing takes care of itself.
And when the downswing takes care of itself, the game gets soooooo much easier!