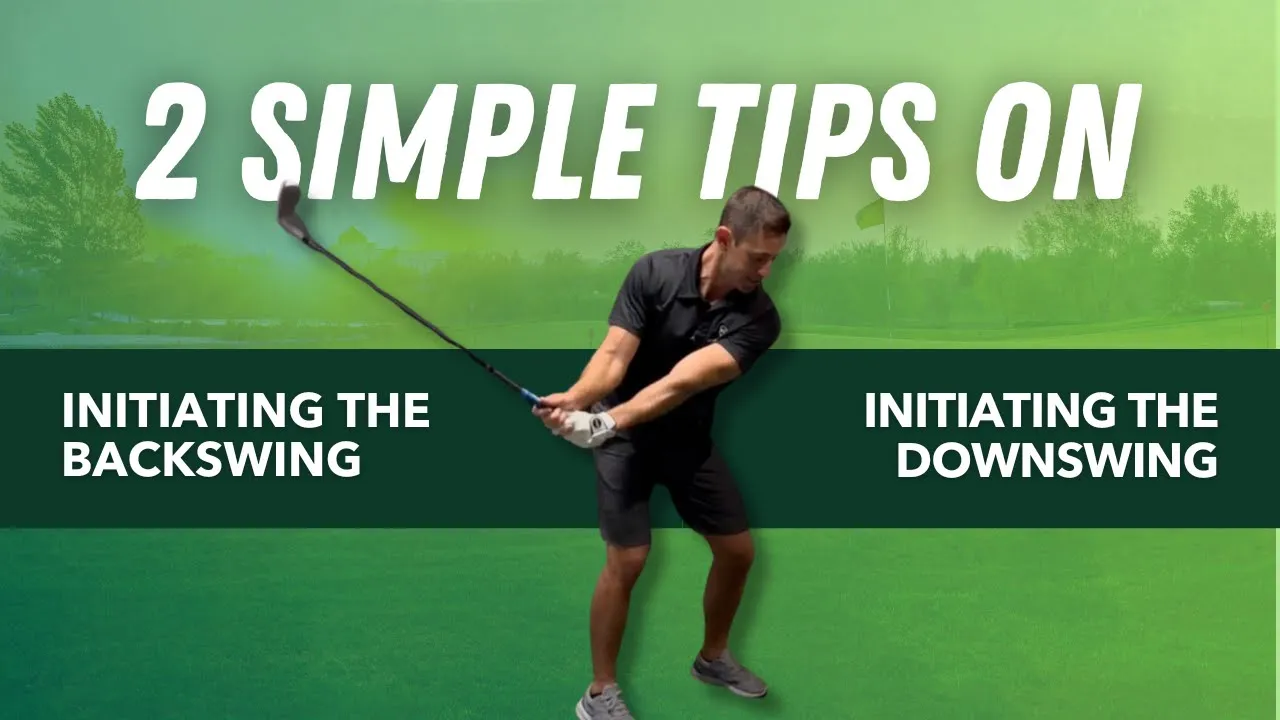
Two simple tips. Loading and width.
That’s the whole game when it comes to adding distance with the driver. No swing overhaul. No complicated 12-step drill sequence. Just two fundamental things that most golfers are getting completely backwards, and one simple drill that trains both of them at the same time.
At Berman Golf, this is where distance conversations always start. Not with equipment. Not with swing speed. With what the body is actually doing during the backswing, and whether the muscles that are supposed to be generating power are actually being recruited or completely shut off.
Fix the loading. Maintain the width. The distance follows automatically.
Why Most Golfers Are Losing Distance Before the Downswing Even Starts
Here’s the uncomfortable truth.
Most golfers are losing their distance before the downswing ever begins. Not because of a bad release. Not because of a weak grip. Because the backswing is already broken by the time the club gets halfway back.
Two things cause it almost every single time.
The trail foot rolls to the outside during the backswing — which kills ground force and shuts the glutes off completely. And the hands lift upward instead of extending outward — which collapses the arc and shrinks the radius of the swing circle before the downswing can even start.
When both of those are happening — and for most senior golfers, both are happening — there’s no foundation to swing from and no arc to generate speed with. The body compensates with the arms and shoulders, the ball gets glanced instead of compressed, and the distance just isn’t there.
These two tips fix both problems. Directly. Immediately.
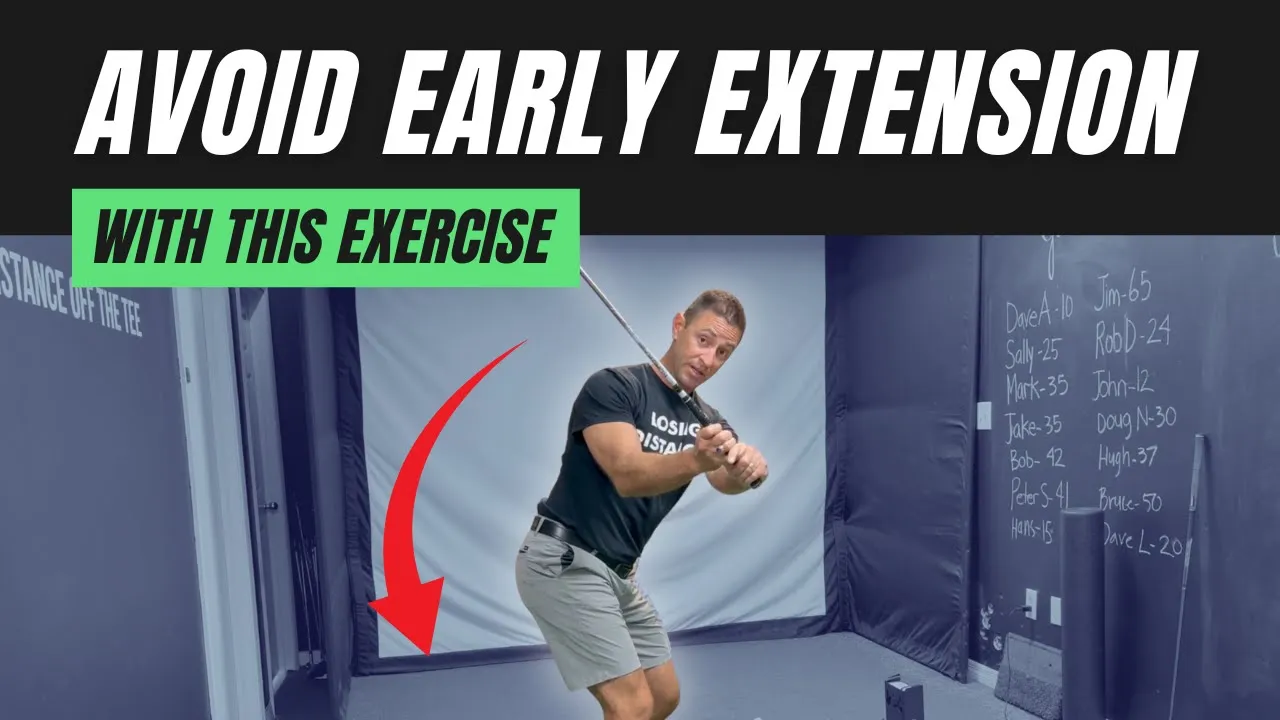
Tip #1: Load the Right Leg — Stop Rolling to the Outside
Here’s what’s happening in most backswings.
As the club goes back, the trail foot rolls to the outside. The ankle collapses outward. The arch lifts off the ground. And the moment that happens, the glutes switch off — because the ground connection that activates them is gone.

You cannot push through the ground with a foot that’s rolling to the outside. It’s biomechanically impossible. And you cannot activate the glutes without pushing through the ground. So rolling the foot doesn’t just feel wrong — it structurally eliminates your biggest power source before the downswing starts.
Here’s the fix. As the belt buckle turns into the backswing, actively increase pressure through the inside of the trail foot. Push the arch into the ground. Smash it down. Keep the pressure on the middle of the top of the foot — not rolling outward, not collapsing inward, right through the arch.

And here’s the key that makes it possible: the trail knee has to stay bent.
It is physically impossible to push through the inside of the foot with a straight knee. The moment the knee straightens during the backswing, the foot pressure disappears. The ground connection is gone. The glutes shut off. There’s nothing left to generate power from.
So keep the knee bent. And here’s the best training cue to make that happen automatically.
As you go into the backswing, think about squatting. Reach the right butt cheek back toward a bar stool sitting behind you. Squat into the rotation. Exaggerate it for training purposes — you’re not going to do this on the course, but exaggerating it in practice is what builds the motor pattern that keeps the knee bent and the foot loaded when you’re actually swinging.

Do it barefoot. The muscles in the arch of the foot need to feel the ground directly. Thick-soled shoes — especially with orthotics — muffle that feedback completely. When the foot can feel the ground, the loading chain from foot to glute fires the way it’s supposed to.
Feel the loading through the right leg. That’s tip one. That’s the foundation everything else is built on.
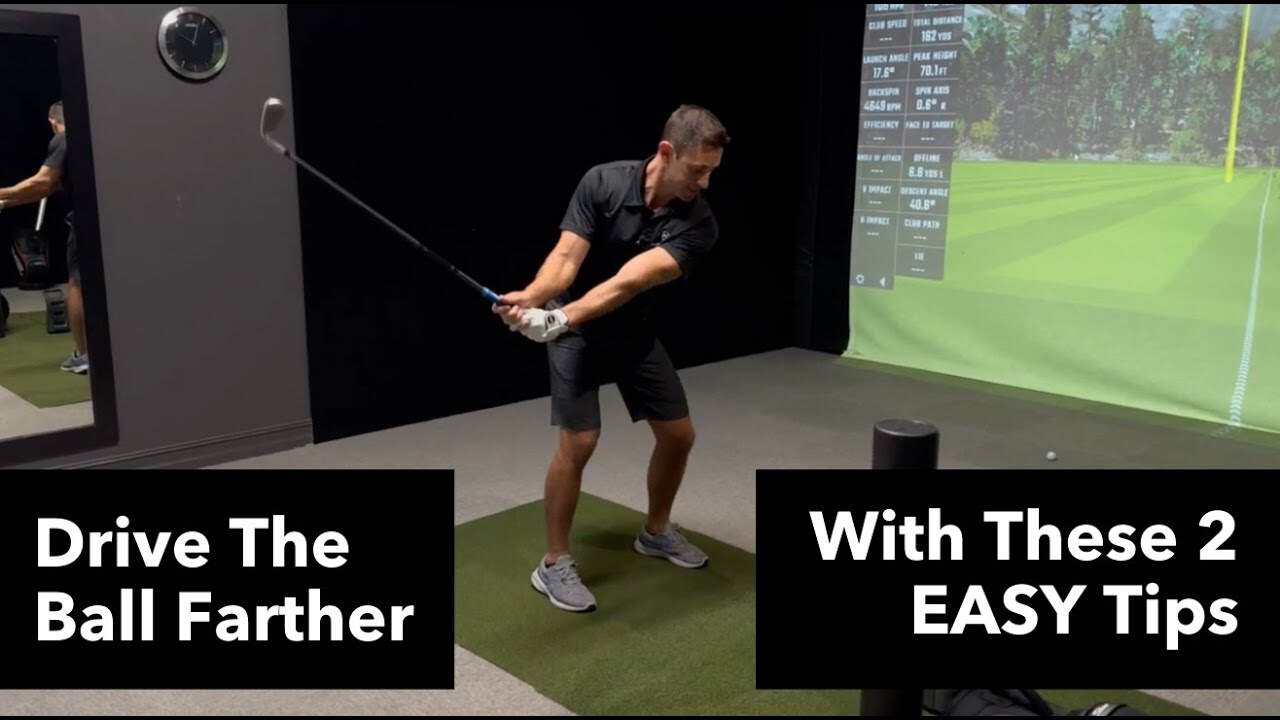
Tip #2: Maintain Width — Stop Raising the Arms
Here’s where tip two comes in — and this one surprises most golfers.
The instinct during the backswing is to raise the arms. Get the shaft parallel. Get the hands high. That’s what it looks like on television. That’s what most golfers are aiming for.
Here’s the problem. Raising the arms up changes the width of the arc. When the hands lift toward the sky instead of extending away from the chest, the distance between the hands and the body shrinks. The radius of the swing circle gets shorter. And when the radius shrinks, the end of the circle — the clubhead — cannot move as fast.

This is basic physics. The longer the radius of a circle, the faster the outer edge moves. Shorten the radius and the speed drops. There’s no way around it.
And about getting the shaft parallel — stop trying to do it. Tour pros barely do it. The ones getting paid millions of dollars and working 40 to 60 hours a week on their game are stopping well short of parallel. They’re stopping when the club is up, not when it’s all the way around. If they’re not doing it at that level, a senior golfer should not be trying to do it either.
The goal is not parallel. The goal is width. Hands extended away from the chest. Arc maintained. Radius kept as large as possible so the clubhead can move as fast as possible.

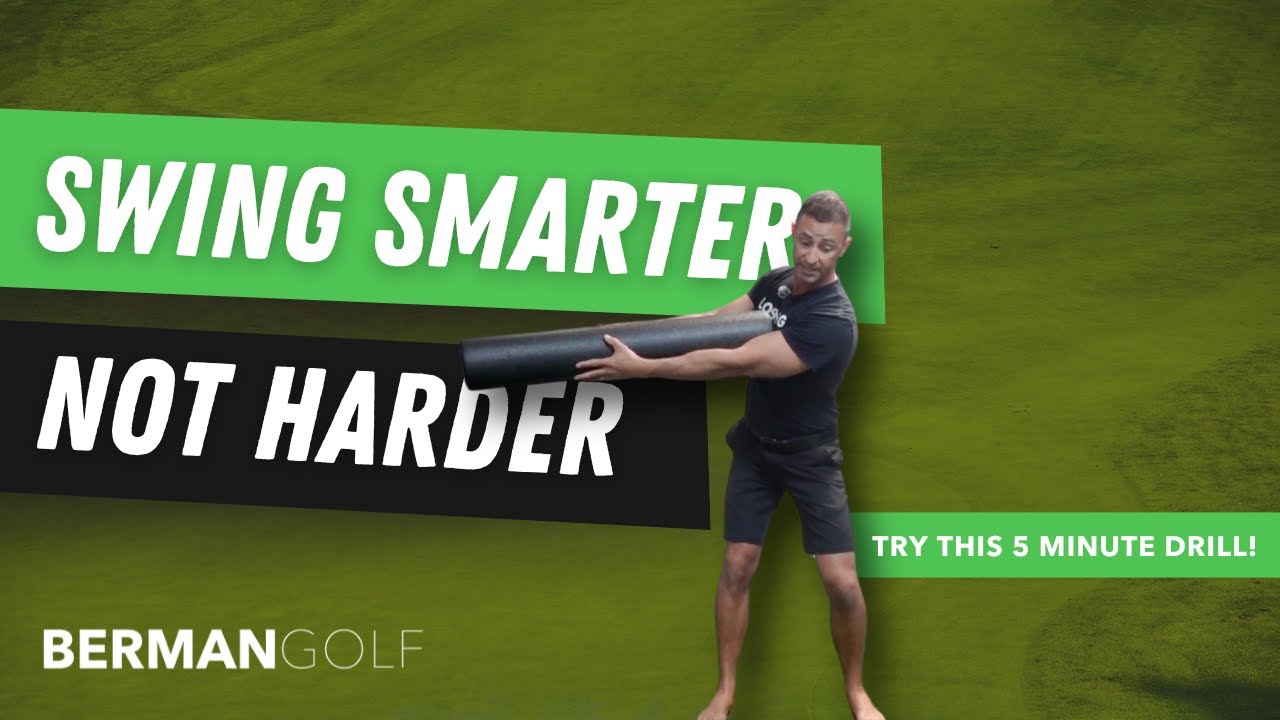
The Split Grip Drill: The Easiest Way to Train Both at Once
Here’s the drill that makes both tips click immediately — and it’s the simplest training tool for width that exists.
At address, slide the right hand halfway off the bottom of the grip. That’s it. Right hand hanging partially off the club. Now go into the backswing.

With the right hand hanging off the grip, push the knuckles away from the target as the backswing loads. Don’t raise them. Push them away — away from the chest, away from the target, extending outward.
That one change forces the hands to maintain width. Because the split grip removes the ability to hold on tightly and pull the hands in. The hands have to extend outward or the drill falls apart.

At the top of the backswing, slide the right hand back down into the normal grip position — keeping the elbow down and the width maintained — and then unload. Let the downswing happen naturally from the loaded right leg and the extended arc position.
Here’s the full sequence with both tips working together.
Address. Load the right leg — belt buckle turns, trail knee bends, arch pushes through the ground. Split grip — right hand halfway off. Backswing — knuckles pushing away from the chest, away from the target. Slide right hand back to normal grip. Unload. Belt buckle leads the downswing. Let it go.

Do this as a workout. Not just a casual drill. Feel the glutes firing in the trail leg. Feel the muscles in the foot working. Feel the core engaged. Feel the chest and shoulders working to maintain the extension at the top. If none of those muscles are burning, the drill isn’t being done with enough intention.
One Critical Rule: No Golf Ball Yet
Here’s where most golfers derail their own progress.
They feel the drill working, grab a ball, tee it up, and immediately fall back into every old pattern they were trying to fix. Because the ball is sitting there and the brain switches from feeling the movement to chasing the result.

This drill is specifically for getting the muscles working. Loading the right leg. Maintaining width. Firing the glutes, the foot, the core, the chest, and the shoulders in the correct sequence. That’s the only goal.
Do it over and over again without a ball until it becomes automatic. Until the loading feels natural and the width is there on every single rep. Then tee it up and see if you can maintain it all together with the little white thing sitting there trying to intimidate you.
The drilling without a ball is where the motor pathway gets built. The range is where you test whether it held. In that order. Always.
Get a Free Swing Analysis
Want to know exactly what your swing is doing right now — before you try to fix it?
Set your camera or phone up at two angles. One from the front, face-on. One from behind, down the line. Film in slow motion. Swing.
Send both videos to gaindistance.com and Dr. Berman will give you a free swing analysis. The first one is on him.
See exactly what the camera shows — not what the brain thinks is happening. Then you know precisely what to work on with the loading and width drills.
Want a Step-by-Step Blueprint?
If this resonates with you and you’re tired of advice designed for 25-year-old tour pros, I put together a simple blueprint specifically for senior golfers.
It breaks down:
- How the aging body changes
- Which muscles actually produce power
- How to gain distance without swinging harder
- How to improve consistency while reducing aches and pains
It’s written at a fifth-grade reading level with clear visuals and practical drills you can start immediately.
You can download a FREE digital copy at: 👉 gaindistance.com
No gimmicks. Just clarity on how your body should move so you can play better golf for years to come.
Bringing It All Together
Two tips. Loading and width. One split grip drill that trains both at the same time.
Trail foot pushes through the arch, glutes and core switch on. Trail knee stays bent, ground force stays alive. Belt buckle turns first, hands follow, shoulders finish. Knuckles push away from the chest, arc stays wide, radius stays long, clubhead speed goes up.
Drill without a ball until the muscles are burning and the pattern is automatic. Then tee it up.
At Berman Golf, we focus on biomechanics first. We don’t teach cookie-cutter swings. We teach you how your body should move especially as it ages, so you can generate power safely and repeat it under pressure.
Our in-house and online coaching programs are built specifically for senior golfers who want more distance and better consistency without beating up their bodies.
If you’re tired of advice designed for tour pros and ready for a blueprint built for your body, we’re here to help.
Because when the right leg is loaded and the arc is wide, there’s only one place the ball can go.
And when the ball goes where it’s supposed to go, the game gets soooooo much easier!