Before you ice it. Before you rest it. Before you pop another pain pill or book another chiropractor appointment.
You need to understand what is actually causing your back pain while golfing.
Here’s the hint: it’s not your bad back. It probably has nothing to do with what your X-ray or your MRI says. And it is 100% fixable—without injections, without surgery, and without giving up the game you love.
As a Doctor of Physical Therapy, I’ve been saying this for years. And once you understand what’s actually happening, everything changes.
The Number One Cause of Back Pain While Golfing
It is always over-swinging. Every single time.
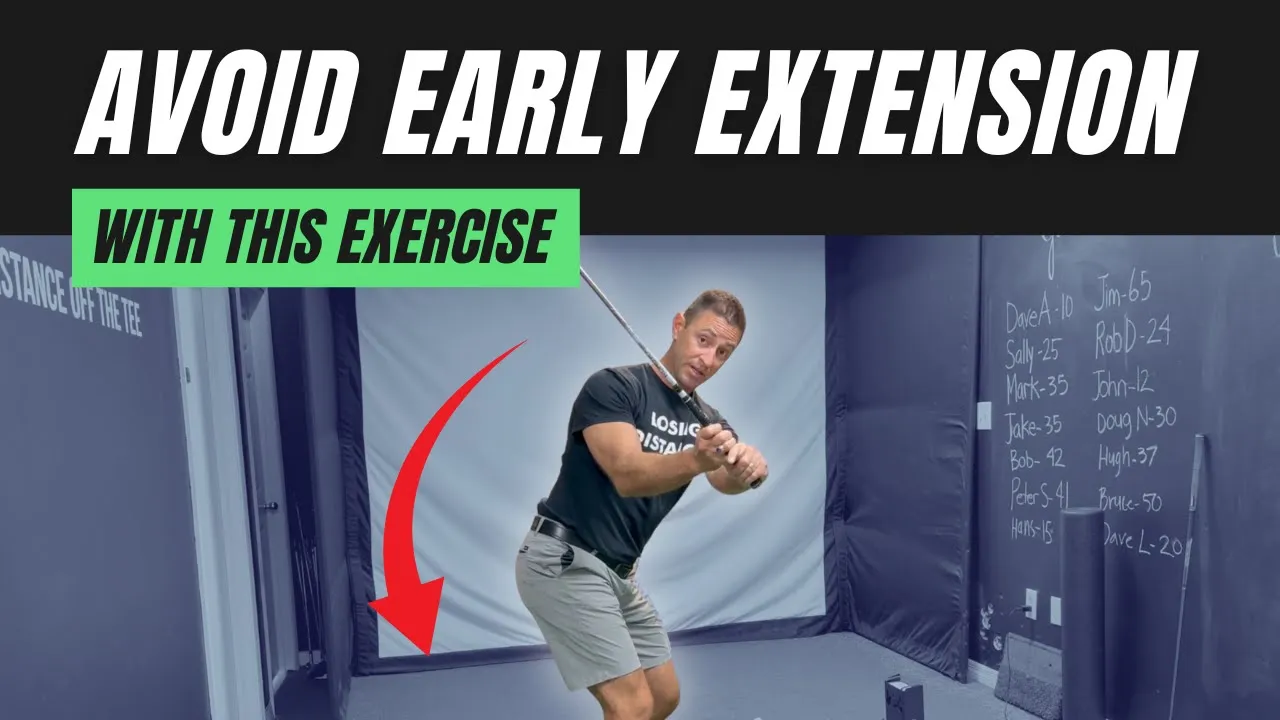
And over-swinging always looks the same. Lead elbow bent. Trail knee straight. Shaft going to parallel. Club head wrapping around the neck.

You do it because you think the ball will go farther. It won’t. But more importantly—here’s what it’s doing to your back every single time you do it.
When you over-swing into that position, your lumbar spine—your lower back—gets placed in a deeply vulnerable position. And from that position, it has to try to rotate.
Here’s the problem. Your lumbar spine was not built to rotate. It was built to bend and extend. That’s it. Rotation is not in its design.

You know what was built to rotate? Your hips. And your thoracic spine—your upper back.
When you over-swing and force the lumbar spine to rotate, you’re asking a structure to do something it was never designed to do. Do that a hundred times in a round, hundreds of rounds over years, and the back doesn’t just ache after golf. It eventually stops being able to handle the game at all.
The fix isn’t rest. The fix isn’t ice. The fix is stopping the over-swing—and replacing it with a swing that loads the right structures and protects the ones that were never designed for this job.
The Two-Wedge Drill That Fixes Everything
Here’s the drill that addresses back pain, adds distance, and improves consistency all at the same time.
All you need is two short clubs or wedges and a wall.
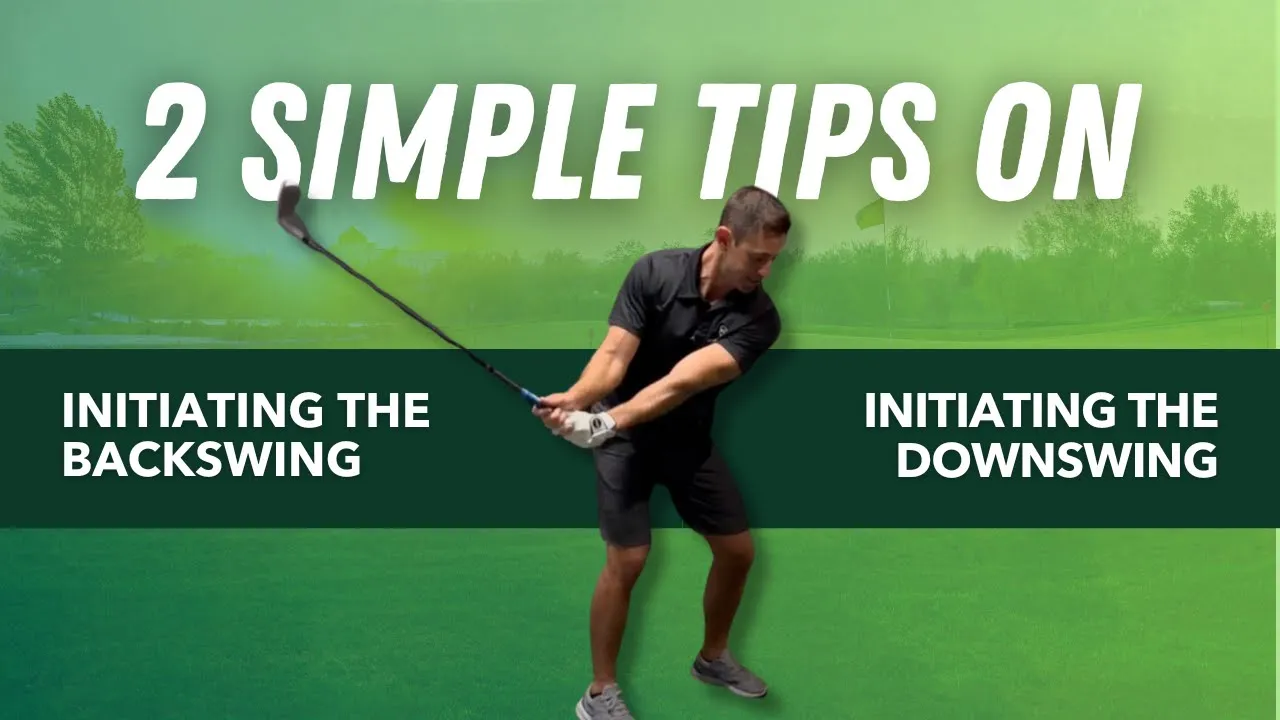
Take the first wedge and wedge the club head into the corner where the baseboard meets the floor. Place the butt end of that club directly behind your trail knee. Get into a comfortable address position—not too squatty, not too straight.

Now go into the backswing.
Don’t worry about the upper body yet. Just focus on one thing: how far can you turn your belt buckle away from the target?
Really drive that lower body rotation. And as you’re turning, push the arch of your trail foot down through the ground. Don’t let it roll out.

Here’s what’s happening when you do this correctly.
The club behind the knee keeps the trail knee from straightening. When the trail knee stays bent, the glute can fire. When you push the trail arch into the ground, the glute fires even harder. Pull the belly button in—the core activates.
Glute firing like crazy. Core firing like crazy.
And here’s the part that matters most for your back:

When the glute and the core are firing like crazy, the back is not. It physically cannot be under the same load at the same time. The right muscles are doing the work—so the wrong ones finally get to rest.
That’s when the back starts to feel better. Not from ice. Not from rest. From finally loading the muscles that were supposed to be doing this job all along.
Now Bring the Upper Body In: The Split Grip Drill
Once the lower body is loaded and the glute and core are firing, the next piece is the upper body—specifically keeping that lead elbow straight.
Most senior golfers cannot hold the lead elbow straight at the top of the backswing. It bends. It folds. And when it folds, the arc shrinks, the club face opens, and the whole swing falls apart.
Here’s how to build that strength without fighting it directly.

Take your trail hand and slide it halfway down the grip—a hockey grip. Get into your address position with good posture, belly button in, chest up. Now go into the backswing and think about pushing your lead knuckles directly away from the target.
Not wrapping around. Not folding across. Pushing away.

The trail hand creates a fulcrum that makes it easier to keep the lead elbow straight. The brain starts to learn what it feels like to have both the lower body loaded and the upper body extended at the same time.
Do this slowly. Over and over. This is not a range drill—it’s a training drill. You’re teaching your brain a new pattern, not hitting golf balls.

As you get stronger, progress the hands closer together. Hockey grip to baseball grip to interlocking grip. Each step requires more lead elbow stability. Take it in order. Don’t rush.
When the lead elbow can hold straight with a normal grip, the arc stays wide. Club head speed returns. The over-swing disappears. And the back—now protected by glutes and core that are actually working—stops hurting.
Why This Drill Is a Ten-Punch Combination
Here’s why this simple setup does so much at once.
The club behind the knee stops the trail knee from straightening. The trail foot arch pressed into the ground fires the glute. The belly button pulled in engages the core. The belt buckle rotation maximizes true hip turn. The split grip drill trains the lead elbow to stay straight and the arc to stay wide.
That is posture, glute activation, core engagement, proper hip rotation, lead arm extension, and back protection all in one drill.
And the back—the structure that was carrying the entire load of a swing it was never designed to handle—finally gets to do nothing. Which is exactly its job when the right muscles are working.
Protect Your Back Before You Even Tee Off
If you want to take the stress off the lumbar spine and get the right muscles firing before you ever hit a ball, go to:
It’s a free five-minute warm-up video that covers exactly what you should be doing on the driving range before you ever tee off. Thoracic spine mobility. Hip and glute activation. Lumbar spine protection.
Five minutes. On the range. In front of everyone. You won’t feel embarrassed. Save it to your home screen and it works like an app.
Do it before every round and the back starts feeling better—not just during the round, but the morning after it too.
Want a Step-by-Step Blueprint?
If this resonates with you and you’re tired of advice designed for 25-year-old tour pros, I put together a simple blueprint specifically for senior golfers.
It breaks down:
- How the aging body changes
- Which muscles actually produce power
- How to gain distance without swinging harder
- How to improve consistency while reducing aches and pains
It’s written at a fifth-grade reading level with clear visuals and practical drills you can start immediately.
You can download a FREE digital copy at: 👉 gaindistance.com
No gimmicks. Just clarity on how your body should move so you can play better golf for years to come.
Bringing It All Together
Your back is not the problem. Your MRI is not the problem. Your age is not the problem.
Over-swinging is the problem. And over-swinging always looks the same—trail knee straight, lead elbow bent, lumbar spine forced into a rotation it was never designed to handle.
Stop the over-swing with the two-wedge drill. Load the glute and core with the trail foot arch pressed into the ground. Build the lead elbow strength with the split grip drill. And let the back finally do what it was always supposed to do—nothing.
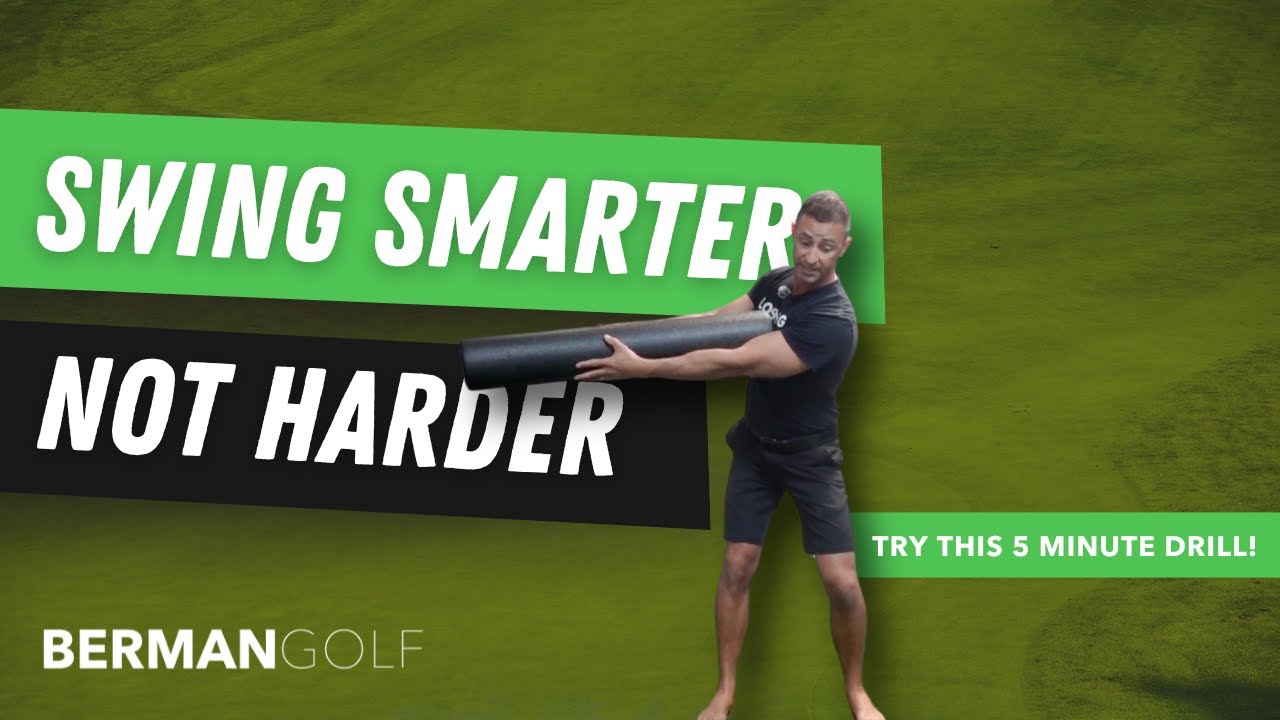
At Berman Golf, we focus on biomechanics first. We don’t teach cookie-cutter swings. We teach you how your body should move—especially as it ages—so you can generate power safely and repeat it under pressure.
Our in-house and online coaching programs are built specifically for senior golfers who want more distance and better consistency without beating up their bodies.
If you’re tired of advice designed for tour pros and ready for a blueprint built for your body, we’re here to help.
Because when the glute and core are firing, the back stops hurting.
And when the back stops hurting, the game gets soooooo much easier!