
One alignment stick. One simple cue. Two things moving at the same time.
That’s it. No complicated setup. No equipment beyond a stick you probably already have in your bag. Just the clearest, most direct way to train your brain to initiate the backswing correctly — so the body becomes the primary driver instead of the hands.
At Berman Golf, this is one of the first things we address with senior golfers who can’t seem to find consistency no matter how many lessons they take or how much they practice. The swing looks different every time. The contact is unpredictable. The ball goes somewhere new on every shot.
Almost always, the problem starts in the first quarter of the backswing. And almost always, it starts with the same mistake.
Why the First Quarter of the Backswing Determines Everything
Here’s something most golf instruction completely misses.
Whatever body part initiates the backswing, the brain registers as the primary driver of the entire movement. Not just the takeaway. The entire swing — downswing included.
If the hands go first, the brain files that information immediately. Hands are in charge. Hands are the engine. And from that point forward, no matter how many swing thoughts you layer on top, no matter how much you tell yourself to use your hips or drive with the legs on the way down, the brain overrides all of it. The hands already told it who was running the show.
This isn’t a golf theory. It’s straight biomechanics. When you initiate with the arms, the brain thinks the arms are the primary mover. When you initiate with the body — the belt buckle — the brain thinks the body is the primary mover. And when the body is the primary mover, power comes from the right place, sequencing happens in the right order, and consistency follows naturally.
If you’re playing on tour and getting a paycheck to play golf on Sundays, sure — initiate with the hands. But for the other 99.9% of golfers out there, the body has to go first. Every single time.
The Drill: Belt Buckle and Hands Move Together
Here’s the simplest version of the drill to start with.
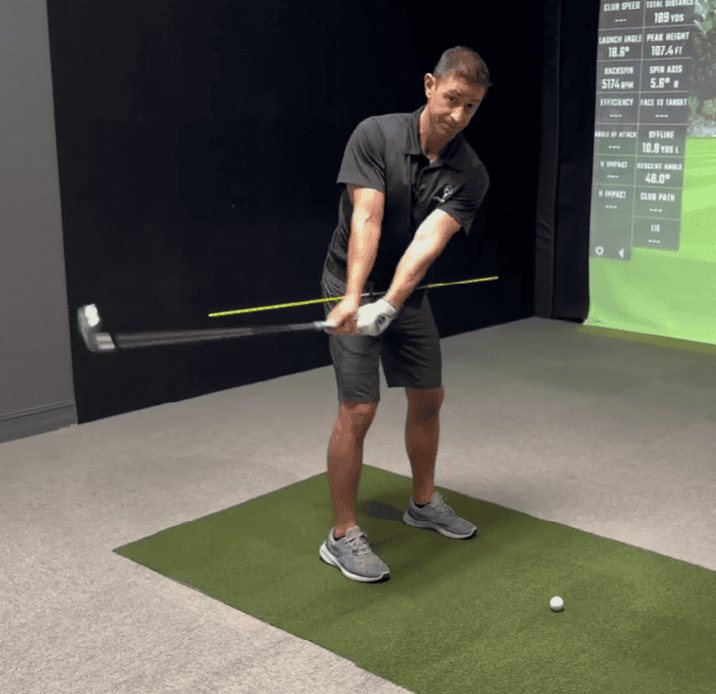
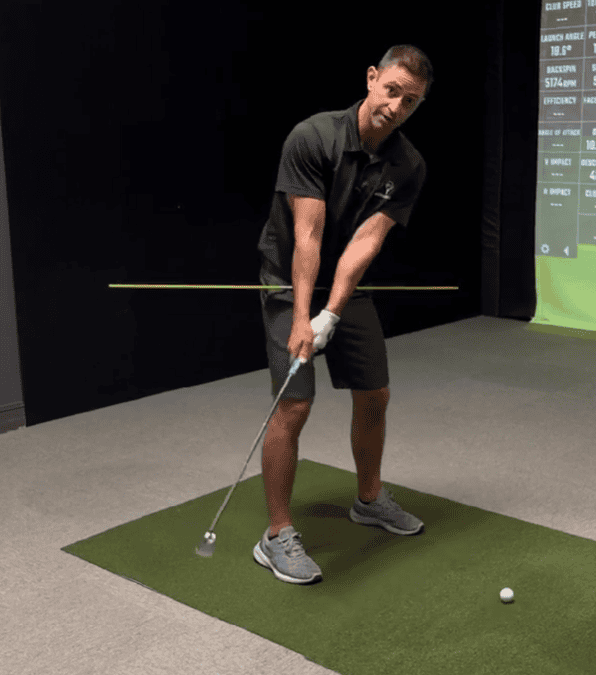
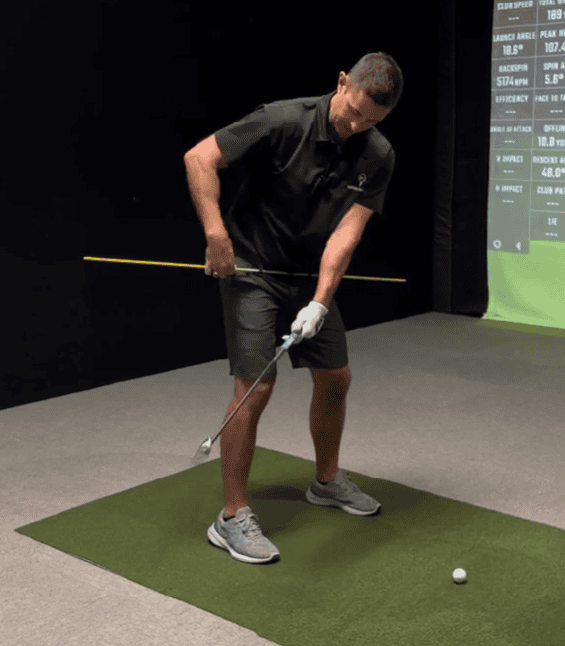
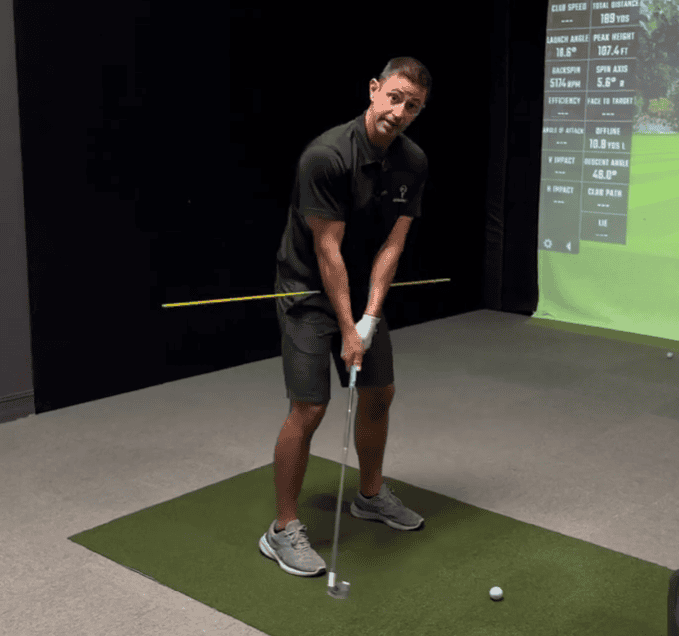
Get into your address position with an alignment stick threaded through your belt loop. The stick should be pointing out away from your body at roughly hip height — so it becomes a visual indicator of exactly when and how much the belt buckle is moving.
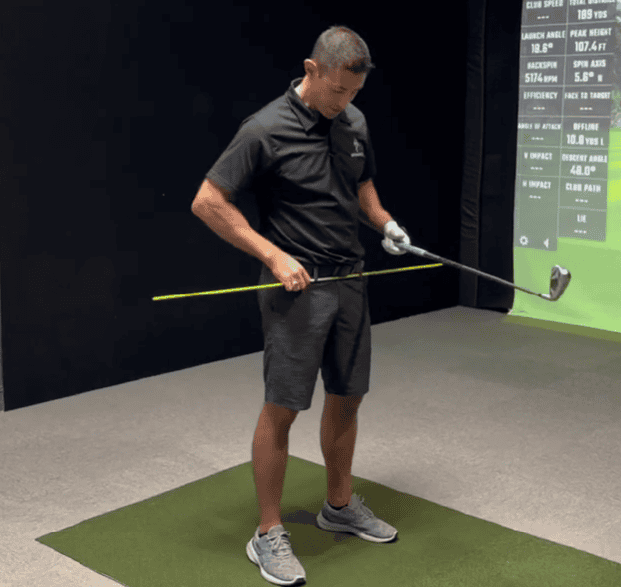
Now here’s the only focus: in the first quarter of the backswing, the alignment stick and the hands move at the same time.
Not the hands first. Not the belt buckle first. Together. Simultaneously. The stick moves as much as the hands move. The hands move as much as the stick moves.
That’s the entire drill at this stage.
Don’t think about the core yet. Don’t think about pushing the foot through the ground. Don’t think about shoulder turn or club position or any of it. Just do this — over and over again — until the brain gets used to the feeling of the belt buckle and the hands moving at exactly the same time.
Keep the head still. Don’t go past the first quarter. Don’t try to reach parallel. Just the first quarter, belt buckle and hands synchronized, over and over again.
This is where the motor pattern gets established. And the motor pattern has to come before the muscles. Get the movement right first.
Adding the Muscles: The Full Sequence
Once the synchronized movement feels natural — once the brain stops reaching for the hands first and starts moving the belt buckle and hands together automatically — it’s time to add the muscles.
Get back into address position. This time, add three things before the backswing begins.
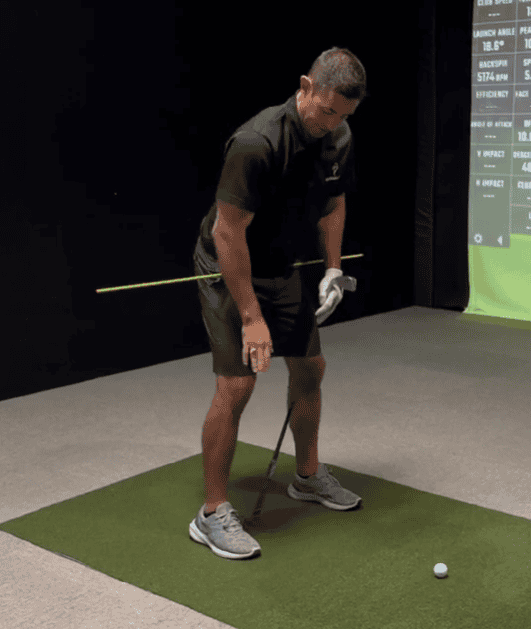
First, increase pressure through the inside of the trail foot. Push the arch into the ground. Keep a good bend in the trail knee — the knee has to stay bent or the foot pressure disappears and the glutes shut off completely.
Second, pull the belly button into the spine. Engage the core like you’re bracing for a punch to the stomach. Chest up — not the rounded, hunched-over posture that creeps in as we age. Chest up, belly button in, core tight.
Third, relax the lead knee. Let it collapse inward naturally as the backswing happens instead of holding it rigid and wide. When the lead knee can move freely, the hip turn becomes easier and the whole rotation flows better.
Now initiate the backswing. Belt buckle and hands move together — same as before. But now the foot is pressing harder through the ground as the rotation builds. The core is staying engaged. The trail knee is staying bent.
Go just to the first quarter and hold. Check the alignment stick. Did it move? Did the hands move with it? Is the club face still pointing down — not flipping or getting cute with the wrists?
If everything is there, push a little farther. Let the rotation continue. Keep pressing harder through the inside of the trail foot as the belt buckle turns. Let the lead knee collapse in as the hips rotate.
Keep going — farther, farther — until the belt buckle physically cannot turn any more. Until the stick can’t move any farther without some kind of compensation kicking in. That maxed-out position is the end of the hip turn.
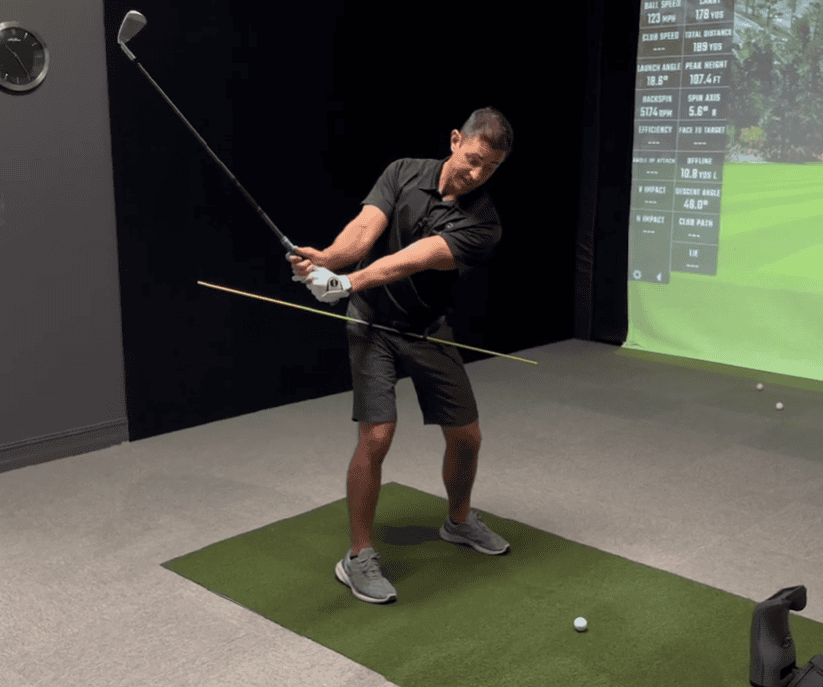
From there — and only from there — push the hands farther back away from the target. Let the left hand extend back. That extension gives more shoulder turn on top of the completed hip turn. Not arms reaching for parallel. Shoulder turn earned by finishing the hip rotation first.
That’s how the backswing should be practiced.
Why This Creates Consistency
Here’s what changes when this drill is done correctly and repeatedly.
The brain stops associating the hands with being the primary driver. It starts associating the belt buckle — the body — with leading the movement. And once that association is established, it holds. The sequencing becomes automatic. The first quarter of the backswing is consistent because the cue is always the same: belt buckle and hands move together.
Consistent backswing initiation leads to a consistent top-of-backswing position. A consistent top-of-backswing position gives the downswing a reliable starting point. And a reliable starting point is what makes ball contact predictable instead of a guessing game on every shot.
This is why consistency feels so hard for most senior golfers. It’s not that the swing is broken in twenty different places. It’s that the first move is wrong — and everything downstream of that first wrong move is compensating for it on every single swing.
Fix the first move. Everything else gets easier.
Build the Pattern Before Adding Discipline
Here’s the progression to follow.
Start with just the movement. No muscles, no pressure, no engagement cues. Belt buckle and hands moving at the same time in the first quarter — over and over and over until it feels natural. Head still. First quarter only.
Then add the muscles. Trail foot pressing through the arch. Trail knee staying bent. Belly button pulled in. Chest up. Lead knee relaxing inward. Run the full sequence with all of those things happening simultaneously.
Then get disciplined about which muscles are doing the work. Can you feel the glutes firing as the belt buckle turns? Can you feel the foot working? Can you feel the core staying engaged all the way to the top?
When all three layers are there — the movement, the muscles, and the awareness — the swing has a foundation it can repeat from. That’s consistency. Not a perfect swing. A repeatable one.
Get a Free Swing Analysis
Want to know exactly what your backswing initiation looks like right now — before you try to change it?
Set your camera or phone up at two angles. One from the front, face-on. One from behind, down the line. Film in slow motion. Swing.
Send both videos to gaindistance.com and Dr. Berman will give you a free swing analysis. The first one is on him.
See exactly what the camera shows — not what the brain thinks is happening. Then you know precisely what the first quarter of your backswing is actually doing and what to fix first.
Want a Step-by-Step Blueprint?
If this resonates with you and you’re tired of advice designed for 25-year-old tour pros, I put together a simple blueprint specifically for senior golfers.
It breaks down:
- How the aging body changes
- Which muscles actually produce power
- How to gain distance without swinging harder
- How to improve consistency while reducing aches and pains
It’s written at a fifth-grade reading level with clear visuals and practical drills you can start immediately.
You can download a FREE digital copy at: 👉 gaindistance.com
No gimmicks. Just clarity on how your body should move so you can play better golf for years to come.
Bringing It All Together
One alignment stick. One cue. Belt buckle and hands move at exactly the same time in the first quarter of the backswing — every single rep, every single time.
Start with just the movement. Add the muscles. Get disciplined about which muscles are doing the work. Build the pattern until the brain stops reaching for the hands first and starts leading with the body automatically.
At Berman Golf, we focus on biomechanics first. We don’t teach cookie-cutter swings. We teach you how your body should move — especially as it ages — so you can generate power safely and repeat it under pressure.
Our in-house and online coaching programs are built specifically for senior golfers who want more distance and better consistency without beating up their bodies.
If you’re tired of advice designed for tour pros and ready for a blueprint built for your body, we’re here to help.
Because when the belt buckle leads and the hands follow, the brain finally has a movement it can repeat.
And when the swing is repeatable, the game gets soooooo much easier!

Dr. Jake Berman