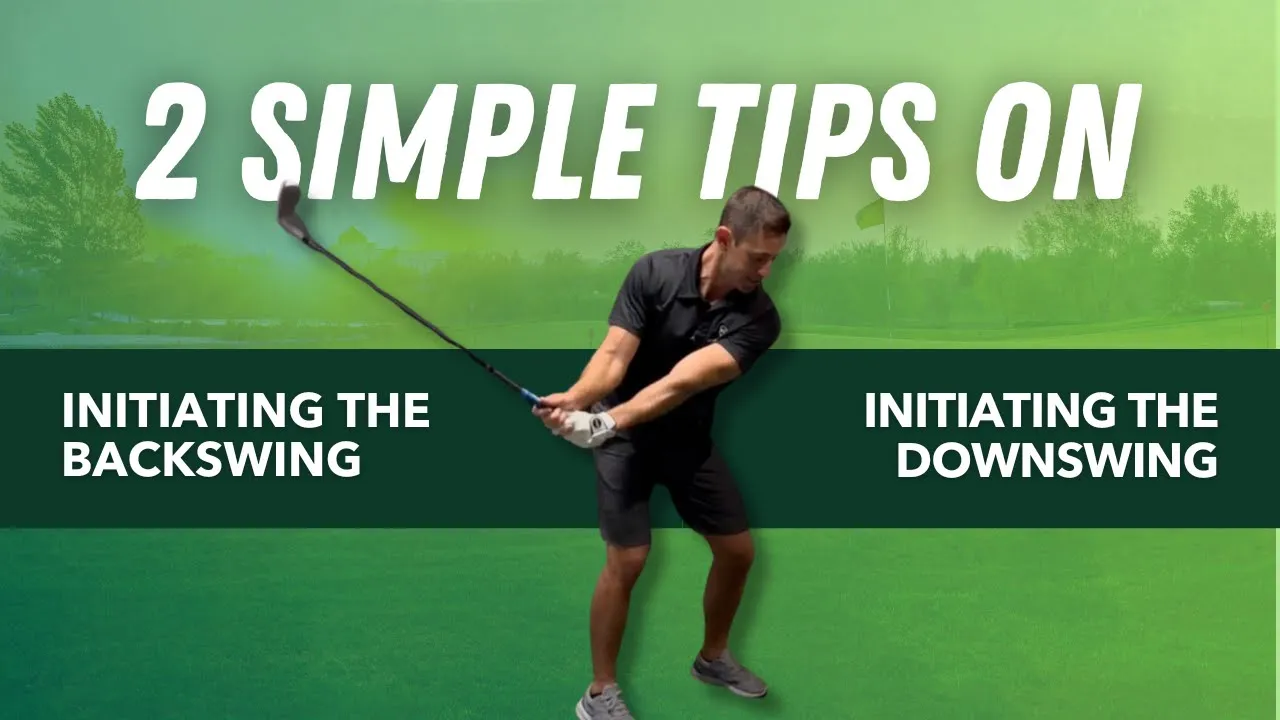
That sharp pain at impact. The one that makes you flinch every time you come through the ball. The one that has you wondering if it’s time to see a surgeon.
Here’s what most people assume: it’s a rotator cuff problem.
Here’s the reality: it probably isn’t.
That pain isn’t coming from an injury to your shoulder. It’s coming from your posture—specifically, the way you’re set up at address—placing far too much stress on the wrong muscles. And when the wrong muscles are carrying a load they were never designed to carry, pain is the inevitable result.
At Berman Golf, this is one of the most misdiagnosed problems we see in senior golfers. The good news is that once you understand what’s actually causing it, the fix is clear and completely manageable.
Why Your Posture Is Destroying Your Shoulder
It starts at address. If you’re set up with rounded shoulders and a collapsed chest, you have already blocked yourself before the swing even begins.

Here’s what happens from that position.
A rounded upper back locks the thoracic spine. When the thoracic spine can’t rotate, the arms and shoulders are forced to fold across the body instead of turning with it. And when the arms and shoulders fold across the body, the big power muscles—the deltoids, the pecs, the back muscles—can’t contribute to the swing at all. They’re folded over and shut off.
So what steps in to fill that gap?
The small muscles. Including the rotator cuff.
The rotator cuff is designed for fine motor control and stabilization. It is not designed to swing a golf club. When you ask it to do that job repeatedly, it does what any overloaded muscle does—it breaks down. It hurts. It screams at you every time you come through impact.
That’s not a rotator cuff injury. That’s a rotator cuff being asked to do a job that belongs to muscles three times its size.
Fix #1: The Two-Finger Drill
The first thing we have to fix is posture at address. Everything else—the swing, the shoulder pain, the power—depends on getting this right first.
Here’s how to do it.
Pull your belly button in toward your spine. Now lift your chest up. Not by arching your lower back—by stacking through the core and lifting through the sternum.
That’s it. That’s the two-finger drill. Belly button in. Chest up.
Feel the difference? From this position, the thoracic spine can rotate freely. The big power muscles—deltoids, pecs, back—can do their job. The shoulders aren’t forced to fold. The rotator cuff isn’t overloaded.
This is where every swing has to start.
No more rounded shoulders at address. Not because it looks bad. Because from that position, the body physically cannot execute the swing correctly—and the shoulder pays the price every single time.
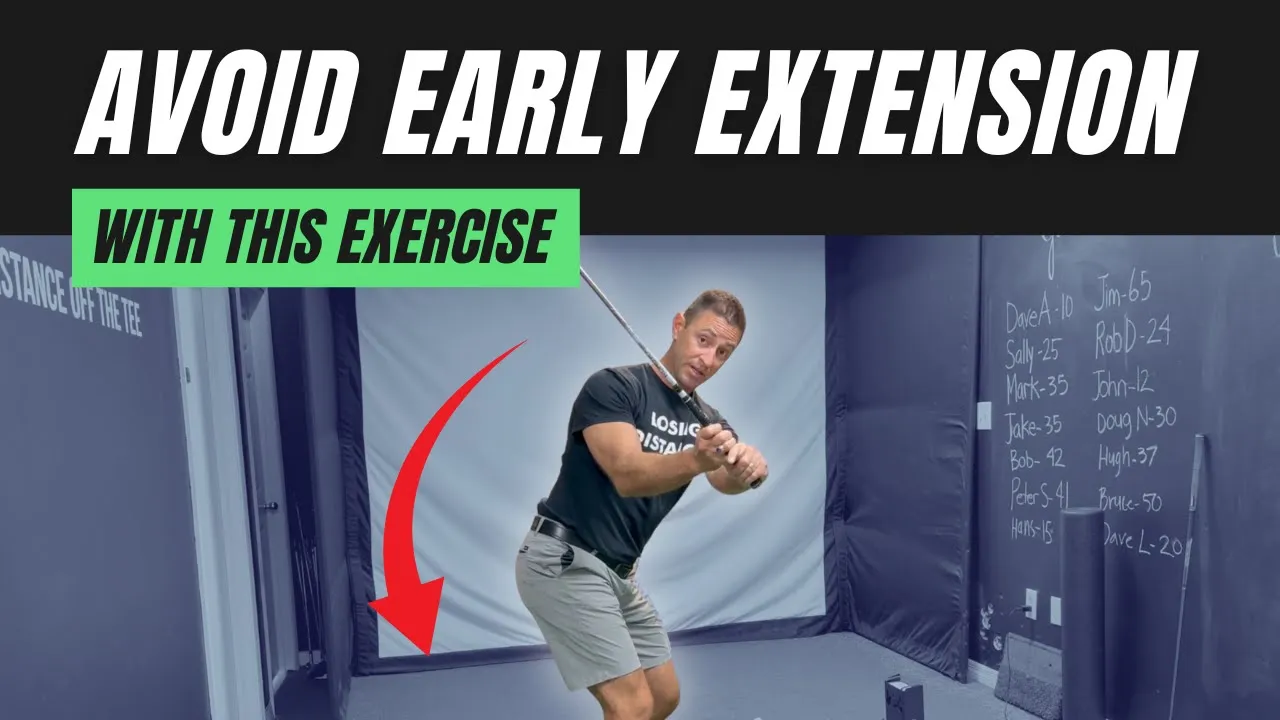
Fix #2: Keep the Hands in Front of the Chest at the Top
The second piece is keeping the hands in front of the chest at the top of the backswing.
Most golfers with shoulder pain can’t hold this position. They get to the top and either the elbow folds because the supporting muscles are too weak, or it hurts to stay there. Both of those tell you the same thing—the big power muscles aren’t doing their job, and the small ones are absorbing stress they can’t handle.
You have to build this strength before you can expect it to show up in a full swing. And you build it statically—not by hitting balls, but by holding the position and making the right muscles work.
That’s where the split grip drill comes in.
Fix #3: The Split Grip Drill (Start Here)
This is the drill that builds the shoulder back up correctly—and it starts with your normal golf club.
Get into your address position. Good posture. Belly button in, chest up. Slide your trail hand halfway down the grip—hockey grip. Now go into the backswing.
Think about your belt buckle leading the way. Trail knee staying bent. And as you go back, push your lead knuckles directly away from the target.
Not around your body. Not wrapping the club behind your neck. Directly away from the target.

The hockey grip gives you a fulcrum with your trail hand that makes it easier to push the lead elbow straight. Use it. Feel the big power muscles—the deltoid, the pec, the back—wake up and start working.
Your arm may shake. The elbow may want to fold. That’s okay. That’s the weakness revealing itself. Push through it. Keep the knuckles away from the target. Get those muscles firing.
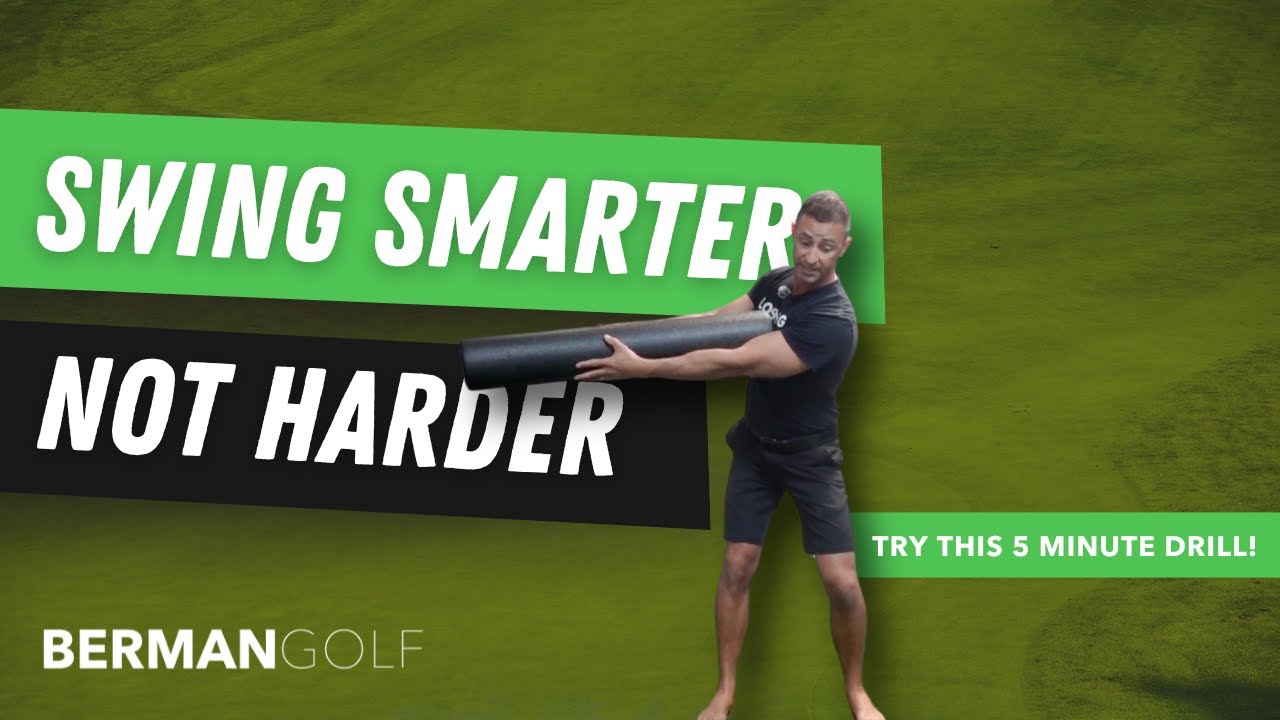
Fix #4: Progress to the Alignment Stick
Once you’ve done the split grip drill with a regular club, progress to an alignment stick.

The alignment stick is significantly lighter than a golf club. That matters because the weakened muscles that have been hiding behind your rotator cuff need a load they can actually manage before you ask them to handle something heavier.
Same drill. Same split grip. Same thought—lead knuckles away from the target, belt buckle leading, trail knee bent.
Get to the top. Now let the trail hand go.

Can you hold it there? Five seconds? Ten?
If the elbow is shaking or bending, those muscles aren’t strong enough yet. Keep working here. Do not move on until you can hold this position and feel the deltoid and pec genuinely working.
When those big power muscles are carrying the load, the shoulder stops hurting. It’s that direct.
Fix #5: Return to a Normal Club and Normal Grip
Only after you can hold the alignment stick position comfortably—elbow straight, big muscles engaged, no pain—should you return to a normal weighted club.

And when you do, start statically. Get to the top of the backswing and hold. Can you hold it there with your interlocking or overlapping grip? Is the elbow bending? Are the muscles firing or is it the shoulder taking all the stress again?
If it’s still bending—go back to the alignment stick. No shortcuts.
The sequence is non-negotiable: split grip drill with a regular club, progress to the alignment stick, then return to a normal club statically, then—and only then—take it into a real swing.
Rush any of these steps and you’ll be back to the same pain, the same flinch, the same question about whether you need surgery.
Follow them in order and the big power muscles build back up, the rotator cuff stops being overloaded, and you swing through impact without pain.
Before You Tee Off: One More Resource
If you want to improve your thoracic mobility, get the glutes and core firing before a round, and take stress off the shoulders, hips, and back before you hit a single ball—there’s a free five-minute warm-up video built specifically for senior golfers at:
You can do it right on the driving range without feeling embarrassed. Download it to your home screen and it’ll look like an app. Do it before every single round.
It gets the big power muscles awake and the thoracic spine and hips moving freely so that you can get through the golf ball with your body—instead of relying on your arms and paying for it in your shoulder later.
Want a Step-by-Step Blueprint?
If this resonates with you and you’re tired of advice designed for 25-year-old tour pros, I put together a simple blueprint specifically for senior golfers.
It breaks down:
- How the aging body changes
- Which muscles actually produce power
- How to gain distance without swinging harder
- How to improve consistency while reducing aches and pains
It’s written at a fifth-grade reading level with clear visuals and practical drills you can start immediately.
You can download a FREE digital copy at: 👉 gaindistance.com
No gimmicks. Just clarity on how your body should move so you can play better golf for years to come.
Bringing It All Together
If your shoulder is hurting at impact, don’t go straight to the surgeon. Don’t assume the worst.
Look at your posture first.
A rounded setup at address shuts off the big power muscles and dumps the entire load onto the rotator cuff. That is where the pain is coming from. And posture is something you can fix today—right now—with one simple drill.
Belly button in. Chest up. Keep the hands in front of the chest at the top. Build the strength with the split grip drill and the alignment stick before you ask those muscles to do it at full speed.
At Berman Golf, we focus on biomechanics first. We don’t teach cookie-cutter swings. We teach you how your body should move—especially as it ages—so you can generate power safely and repeat it under pressure.
Our in-house and online coaching programs are built specifically for senior golfers who want more distance and better consistency without beating up their bodies.
If you’re tired of advice designed for tour pros and ready for a blueprint built for your body, we’re here to help.
Because when the big muscles do their job, the small ones stop screaming.
And when the shoulder stops hurting, the game gets soooooo much easier!